As the leaves turn golden and the air carries a crisp edge, there's one iconic dessert that steals the spotlight: pumpkin pie. This treat captures the essence of fall in every velvety bite. Today, I'm sharing a classic pumpkin pie recipe without evaporated milk.
If you're in the mood for another great recipe for fall, try this Copycat Panera Pumpkin Muffin Recipe.
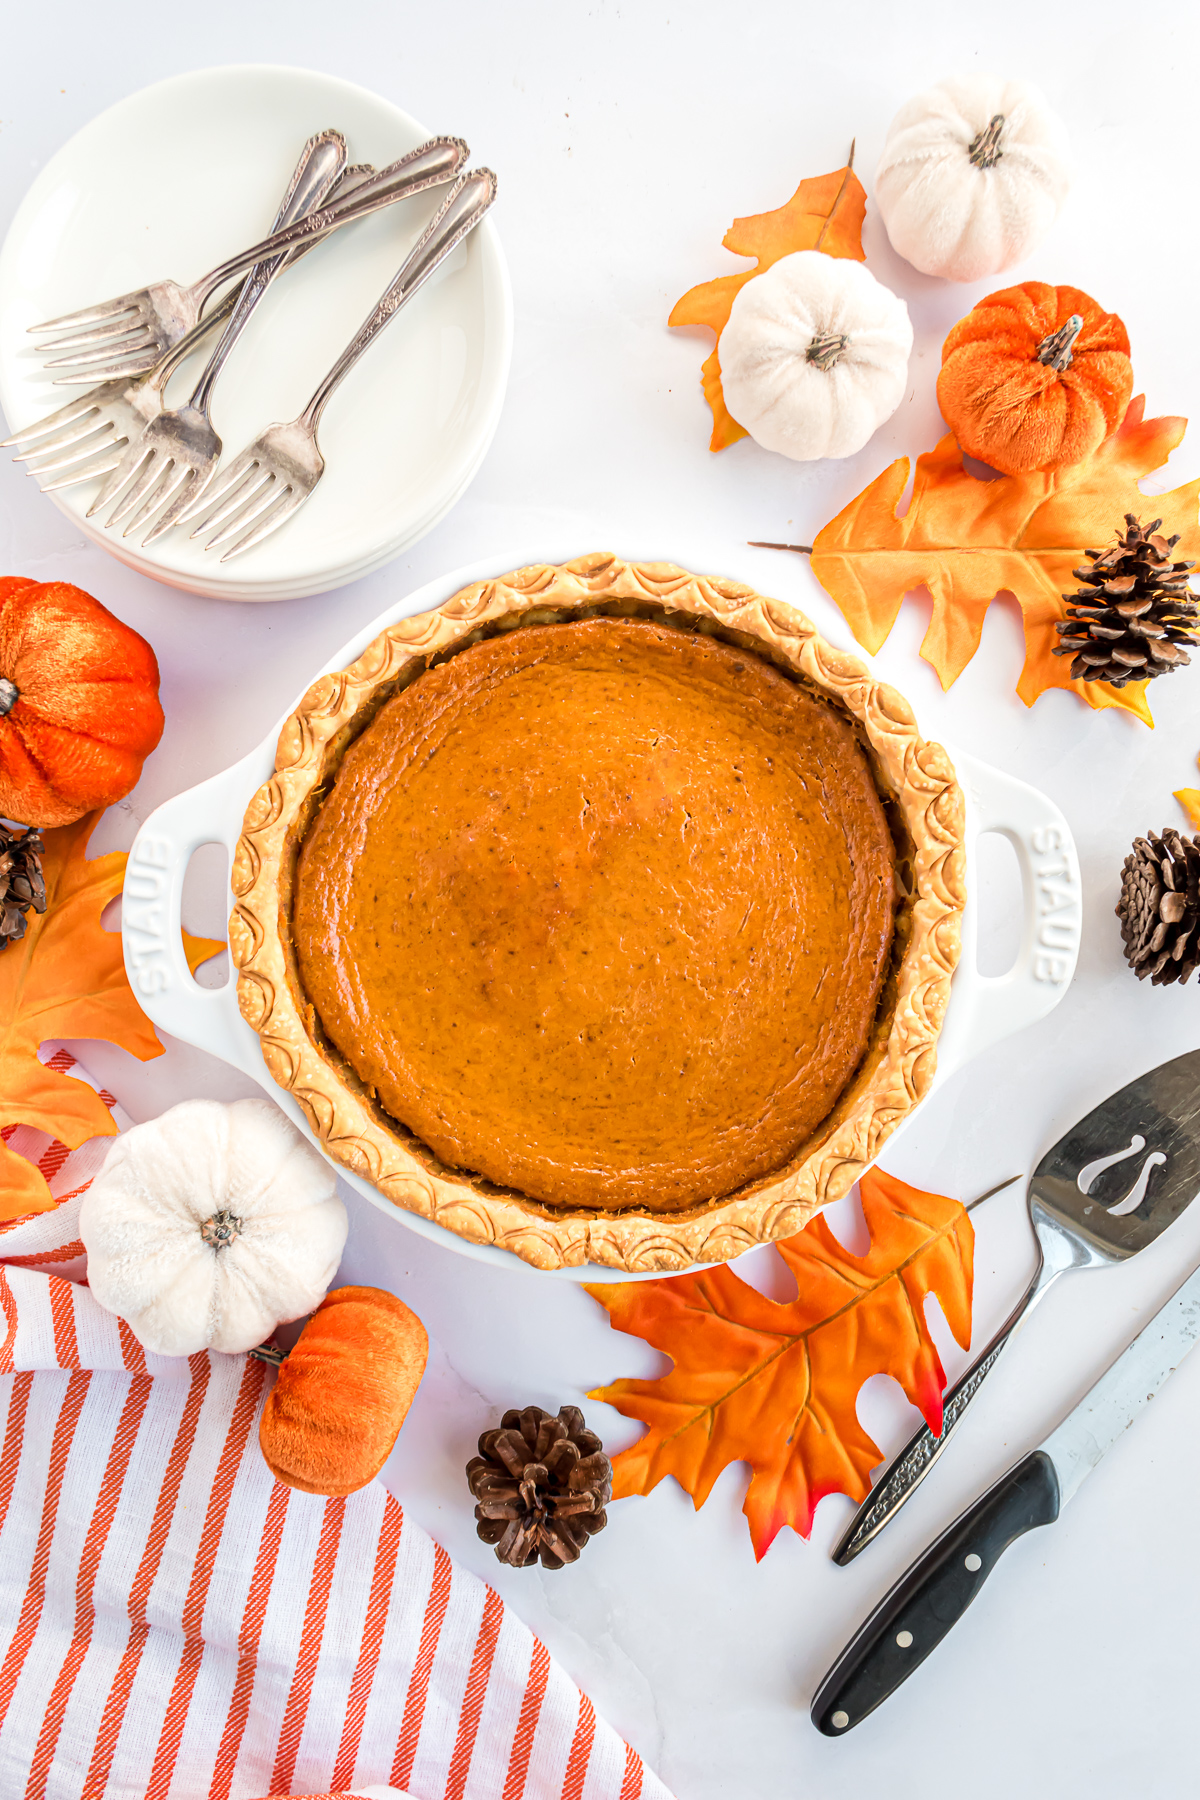
This recipe ditches the evaporated milk for a more decadent, creamier twist created by using heavy whipping cream. It gives the filling an indulgent, creamy texture that pairs perfectly with the pumpkin puree and warm spices. But don't worry! It has all the flavor of a traditional pumpkin pie.
Whether you're a seasoned pie baker or a first-timer, this recipe's straightforward instructions and simple ingredients make it a surefire hit. With this recipe, you'll be creating the perfect pumpkin pie that will have guests asking for seconds!
Pie Crust Baking
This recipe doesn't require you to blind-bake the crust. However, if you have trouble with soggy, underbaked crust, here are a couple of tips to help make sure your pie turns out perfectly, crust included!
- Use a Glass Pie Plate: blind-baking offers the advantage of allowing you to monitor the crust's color, ensuring it reaches the desired golden brown without over-baking. The transparency of the glass provides a visual cue, which can be especially helpful for those who are visually impaired. Glass conducts heat more slowly and evenly, preventing hot spots that can lead to uneven baking.
- Use Pie Weights or Beans: After placing the crust in the pie dish, line it with parchment paper and fill it with pie weights or dried beans. This helps to prevent the crust from puffing up or shrinking during baking. Make sure the weights or beans cover the entire bottom and sides of the crust evenly.
- Prick the Crust: Before adding the weights, use a fork to prick the bottom of the crust. This allows steam to escape and helps prevent air bubbles from forming.
Substitutions
- Homemade Pie Crust - Do you have a go-to recipe for pie dough? Feel free to make a homemade crust.
- Frozen Pie Crust - If you're short on time, you can substitute with a frozen pie shell—no need to thaw it. Just proceed with filling and baking.
- Pumpkin Pie Spice - If you'd rather use Pumpkin Pie Spice instead of the individual spices listed, I suggest 1 teaspoon as a substitute.

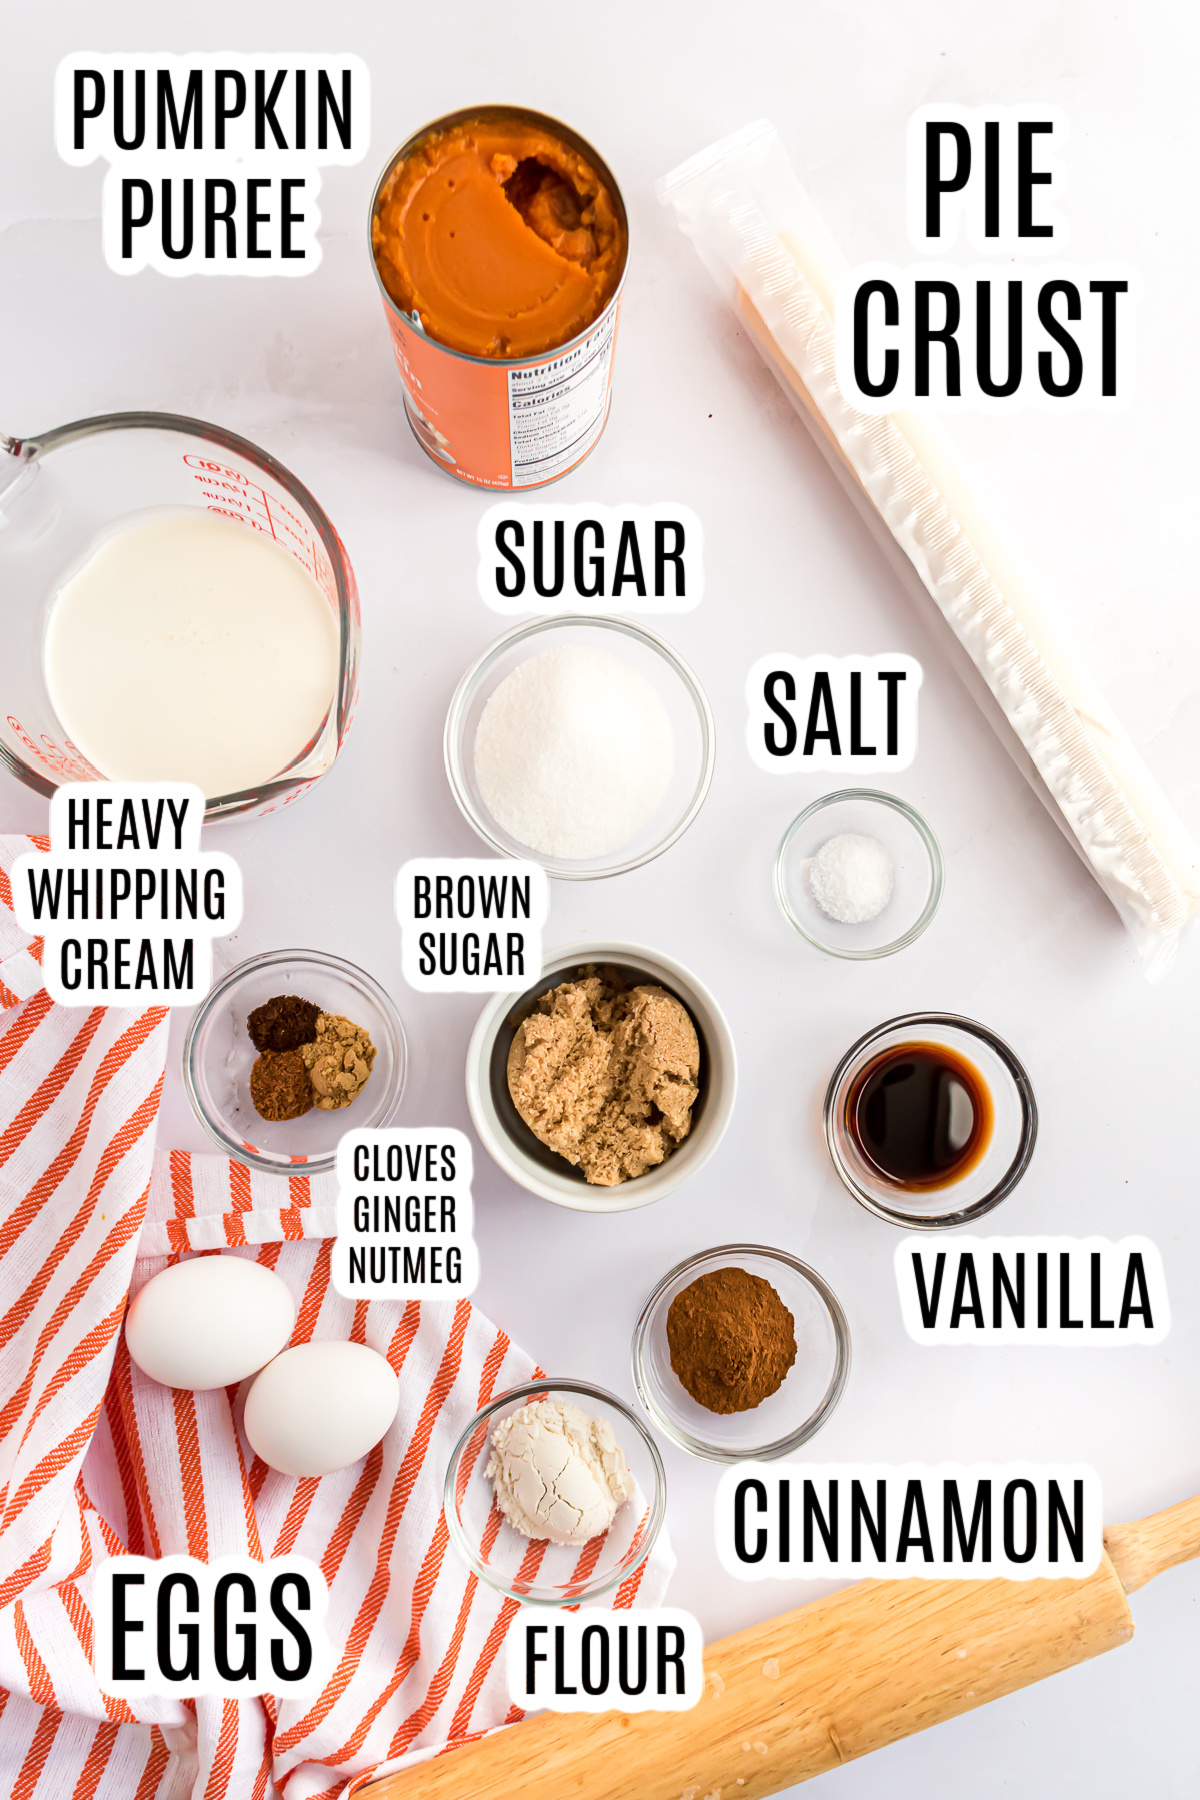
Ingredients
- Refrigerated pie crust
- Pumpkin Puree (not pumpkin pie filling)
- Eggs
- Brown Sugar
- Granulated Sugar
- Heavy Cream
- Vanilla Extract
- Ground Cinnamon
- Ginger
- Nutmeg
- Cloves
- All-purpose Flour
- Kosher Salt
*For specific ingredient amounts, please scroll down to the printable recipe card.
Instructions
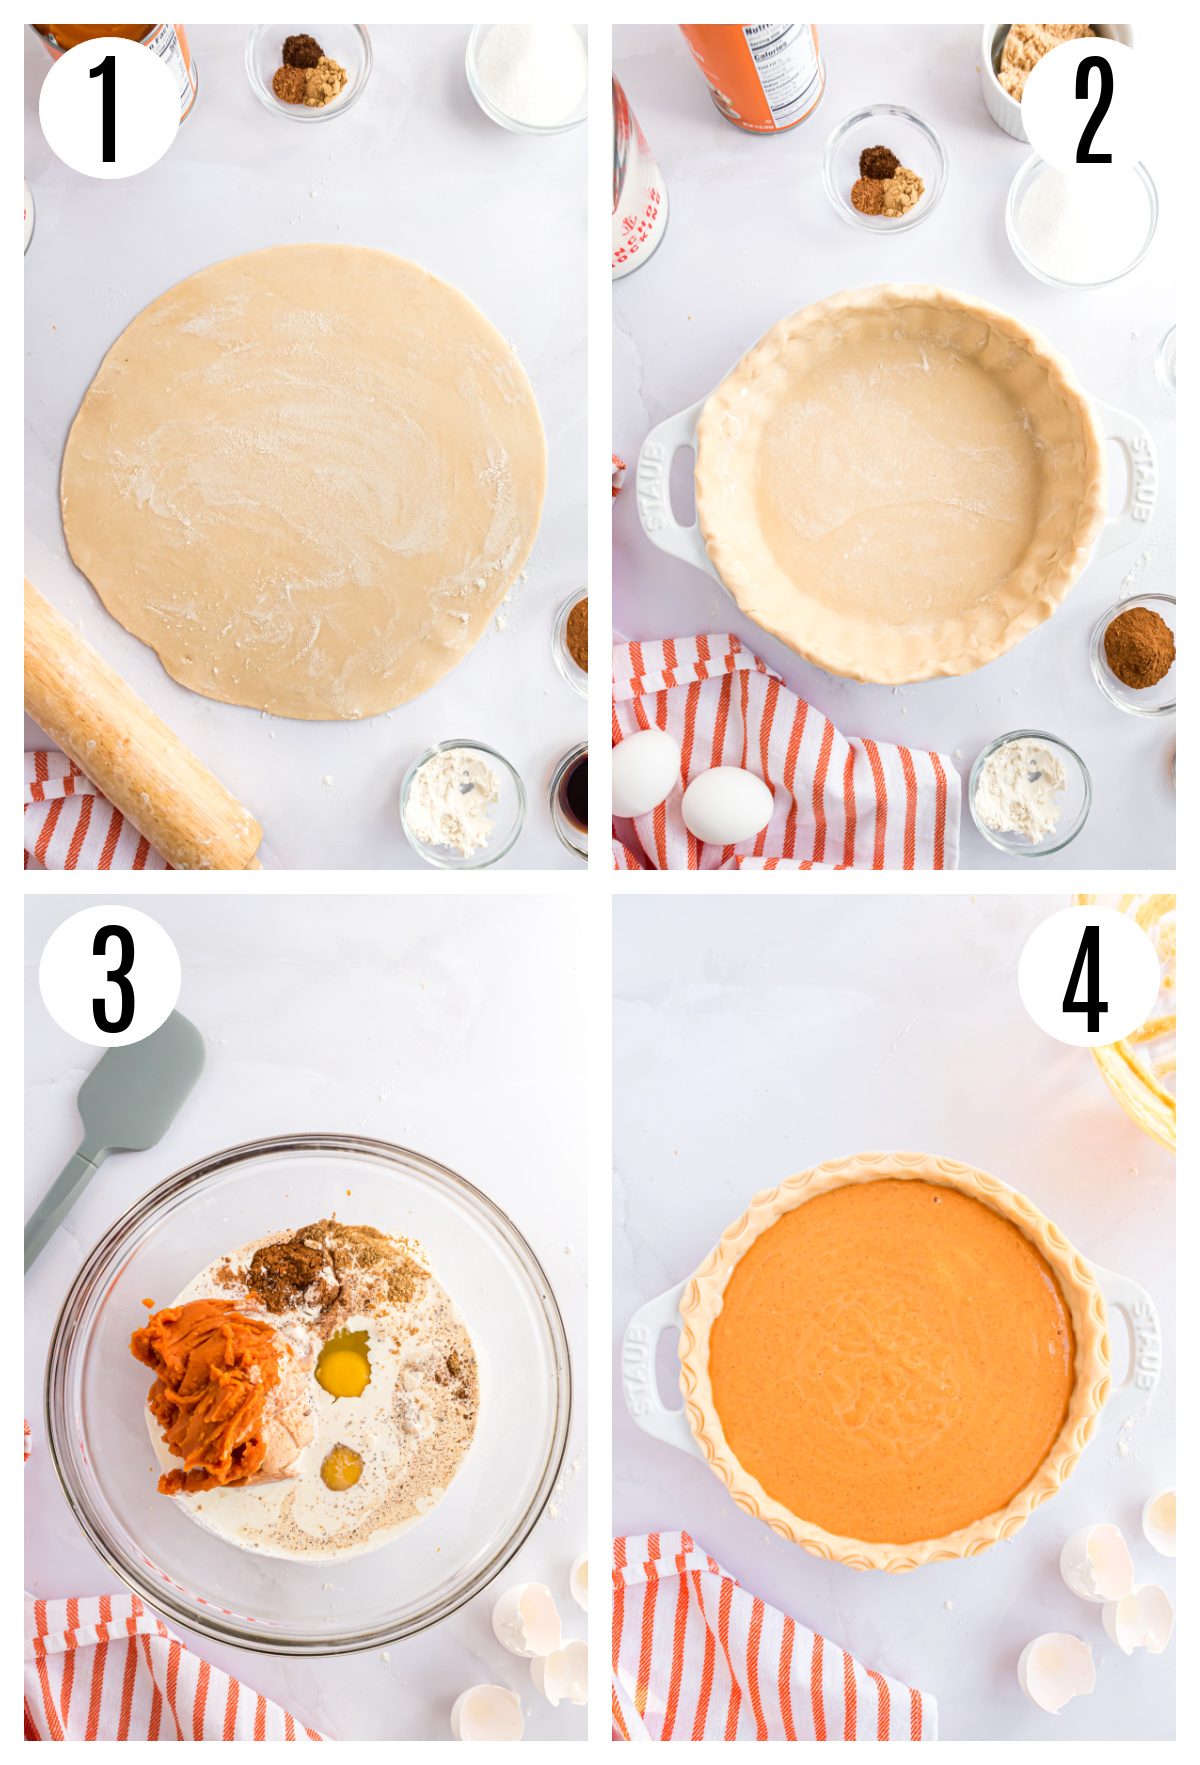
Step 1. Preheat oven to 350 degrees. Remove the pie crust from the refrigerator and let it come to room temperature for easier unrolling.
Step 2. Remove eggs and cream from the refrigerator and let them come to room temperature while preparing the crust.
Step 3. Unroll the pie crust, and dust each side very lightly with a small amount of flour (about 1 or 2 teaspoons)—press the crust in a 9-inch pie plate, folding excess under to form an edge. Chill in the refrigerator while making the filling.
Step 4. In a large bowl, whisk together canned pumpkin, eggs, both sugars, heavy cream, vanilla, cinnamon, ginger, nutmeg, cloves, flour, and salt until smooth.
Step 5. Remove the prepared crust from the fridge and pour the filling into the pie crust. Place the pie on a sheet pan.
Step 6. Bake for about 45 minutes or until (a 2-3" circle) in the center of the pie is still a bit jiggly when you gently shake the pan. At this point, it is important not to overbake the pie. 5. Turn the oven off and leave the oven door open for about 10-15 minutes. The pie will continue to bake gently, but this will help with the filling not pulling away from the sides of the crust as it cools and will also help the pie not to crack.
Step 7. Remove the pie from the oven and cool on a wire cooling rack.
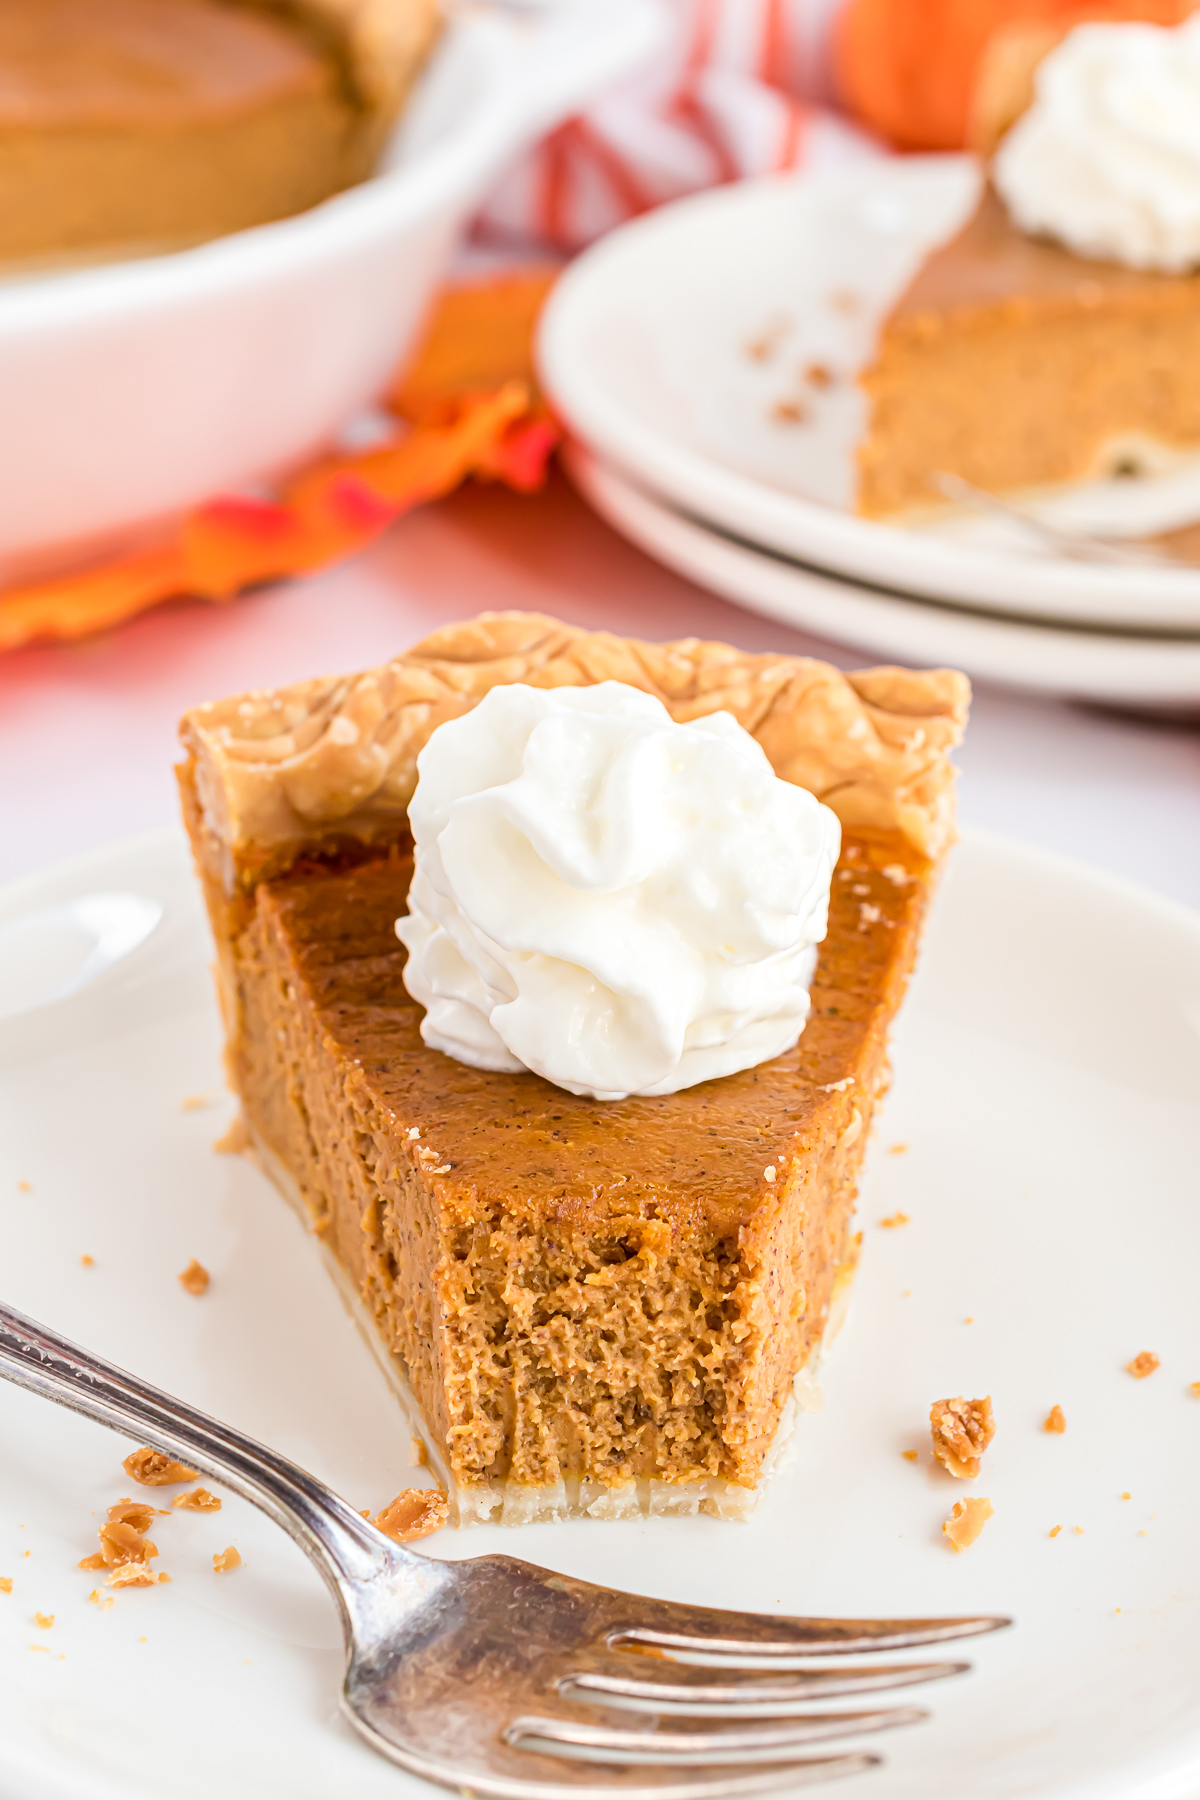
Step 8. Serve with homemade whipped cream or cool whip.
Storage and Freezing
While pumpkin pie is better enjoyed fresh, this recipe can be made a day in advance. Cover the pie with plastic wrap or place it in an airtight container in the refrigerator for up to 3 or 4 days.
This pie can be frozen for up to 2 months. Place the pie into a freezer bag and then wrap it with foil for extra protection. Thaw overnight in the refrigerator.
Pro Tip
To prevent the crust from browning too much, cover it with a thin strip of aluminum foil or use a pie shield. This ensures your pie looks as good as it tastes!
Notes/FAQs
Absolutely! If you have the time and inclination, roasting and pureeing your own pumpkin can add an extra layer of flavor to your pie.
Heavy cream lends a richer, creamier texture to the filling compared to the thinner consistency of evaporated milk. It creates a more indulgent pie.
Definitely! This pumpkin pie actually benefits from being made a day ahead. It allows the flavors to meld and the pie to set beautifully.

Classic Pumpkin Pie Recipe Without Evaporated Milk
Equipment
- 9 “ pie plate
- Mixing bowl
- Spoon or whisk
Ingredients
- 1 package refrigerated pie crust
- 15 oz can regular canned pumpkin puree not pumpkin pie filling
- 2 large eggs
- ¼ cup brown sugar
- ¼ cup granulated sugar
- 1 cup heavy cream
- 2 teaspoons vanilla
- 2 teaspoons cinnamon
- ½ teaspoon ginger
- ¼ teaspoon nutmeg
- ¼ teaspoon ground cloves
- 1 Tablespoon flour
- ½ teaspoon Kosher salt
Instructions
- Step 1. Preheat oven to 350 degrees. Remove the pie crust from the refrigerator and let it come to room temperature for easier unrolling.
- Step 2. Remove eggs and cream from the refrigerator and let them come to room temperature while preparing the crust.
- Step 3. Unroll the pie crust, and dust each side very lightly with a small amount of flour (about 1 or 2 teaspoons)—press the crust in a 9-inch pie plate, folding excess under to form an edge. Chill in the refrigerator while making the filling.
- Step 4. In a large bowl, whisk together canned pumpkin, eggs, both sugars, heavy cream, vanilla, cinnamon, ginger, nutmeg, cloves, flour, and salt until smooth.
- Step 5. Remove the prepared crust from the fridge and pour the filling into the pie crust. Place the pie on a sheet pan.
- Step 6. Bake for about 45 minutes or until (a 2-3" circle) in the center of the pie is still a bit jiggly when you gently shake the pan. At this point, it is important not to overbake the pie. 5. Turn the oven off and leave the oven door open for about 10-15 minutes. The pie will continue to bake gently, but this will help with the filling not pulling away from the sides of the crust as it cools and will also help the pie not to crack.
- Step 7. Remove the pie from the oven and cool on a wire cooling rack.
- Step 8. Serve with homemade whipped cream or cool whip.







Leave a Reply