

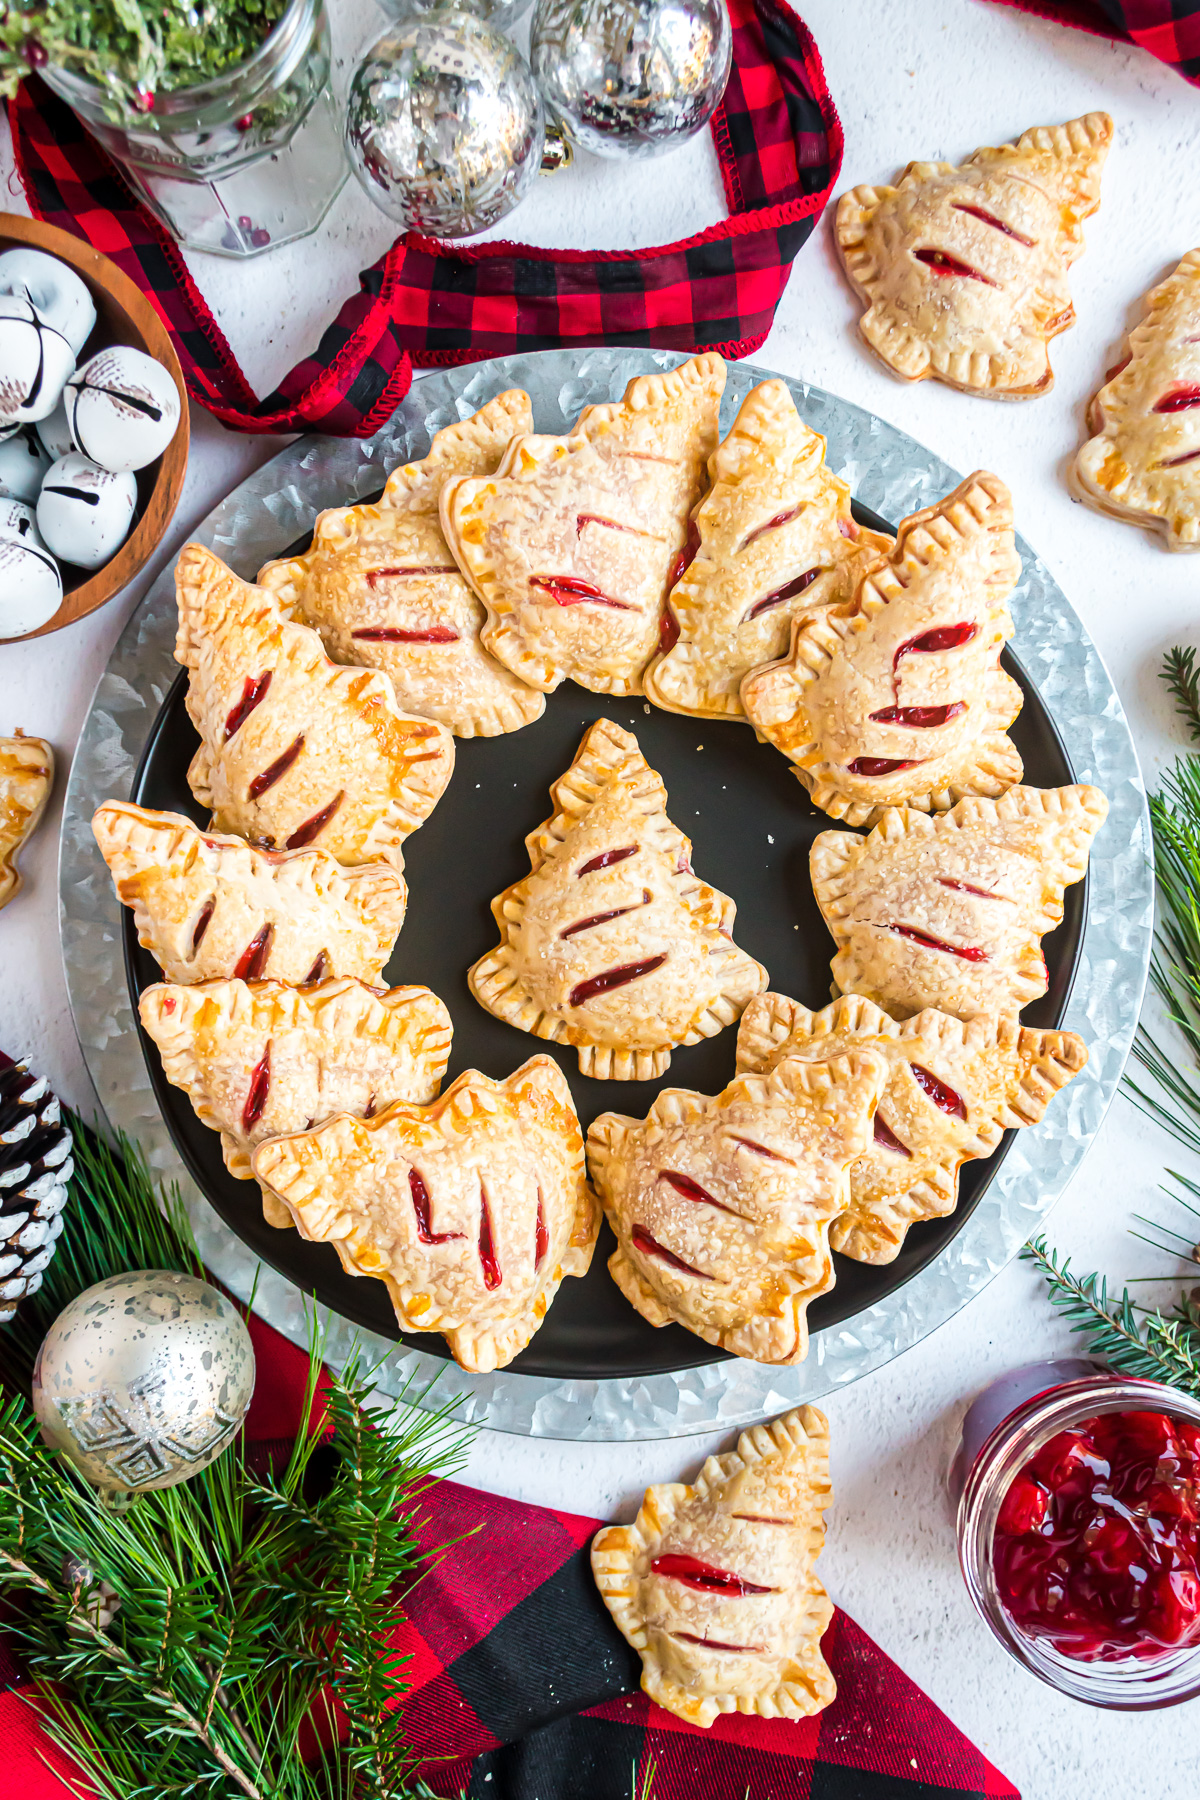
Christmas is one of my favorite times of the year. But, it doesn't take long before I get overwhelmed by all the hustle and bustle that the holiday season embraces. And that is why I love recipes like these little Christmas Tree Cherry Hand Pies. It's what I like to call a semi-homemade creation.
For holiday parties, I love to pair these mini cherry hand pies with my Christmas Reindeer Chex Mix Recipe. Both recipes make a large amount quickly and are suitable for a crowd.
Why You Will Love This Recipe
- It's A Quick and Easy Dessert! These personal-sized Christmas hand pies look impressive and only take a few ready-made ingredients to come together.
- Great for Kids Who Like to Help in the Kitchen! This recipe is fun to do with kids. My daughters (ages 9) helped me make these, and they had so much fun cutting out the pieces, assembling them, and pressing the seams together. By the time their attention span had worn out, the pies were ready to go into the oven.
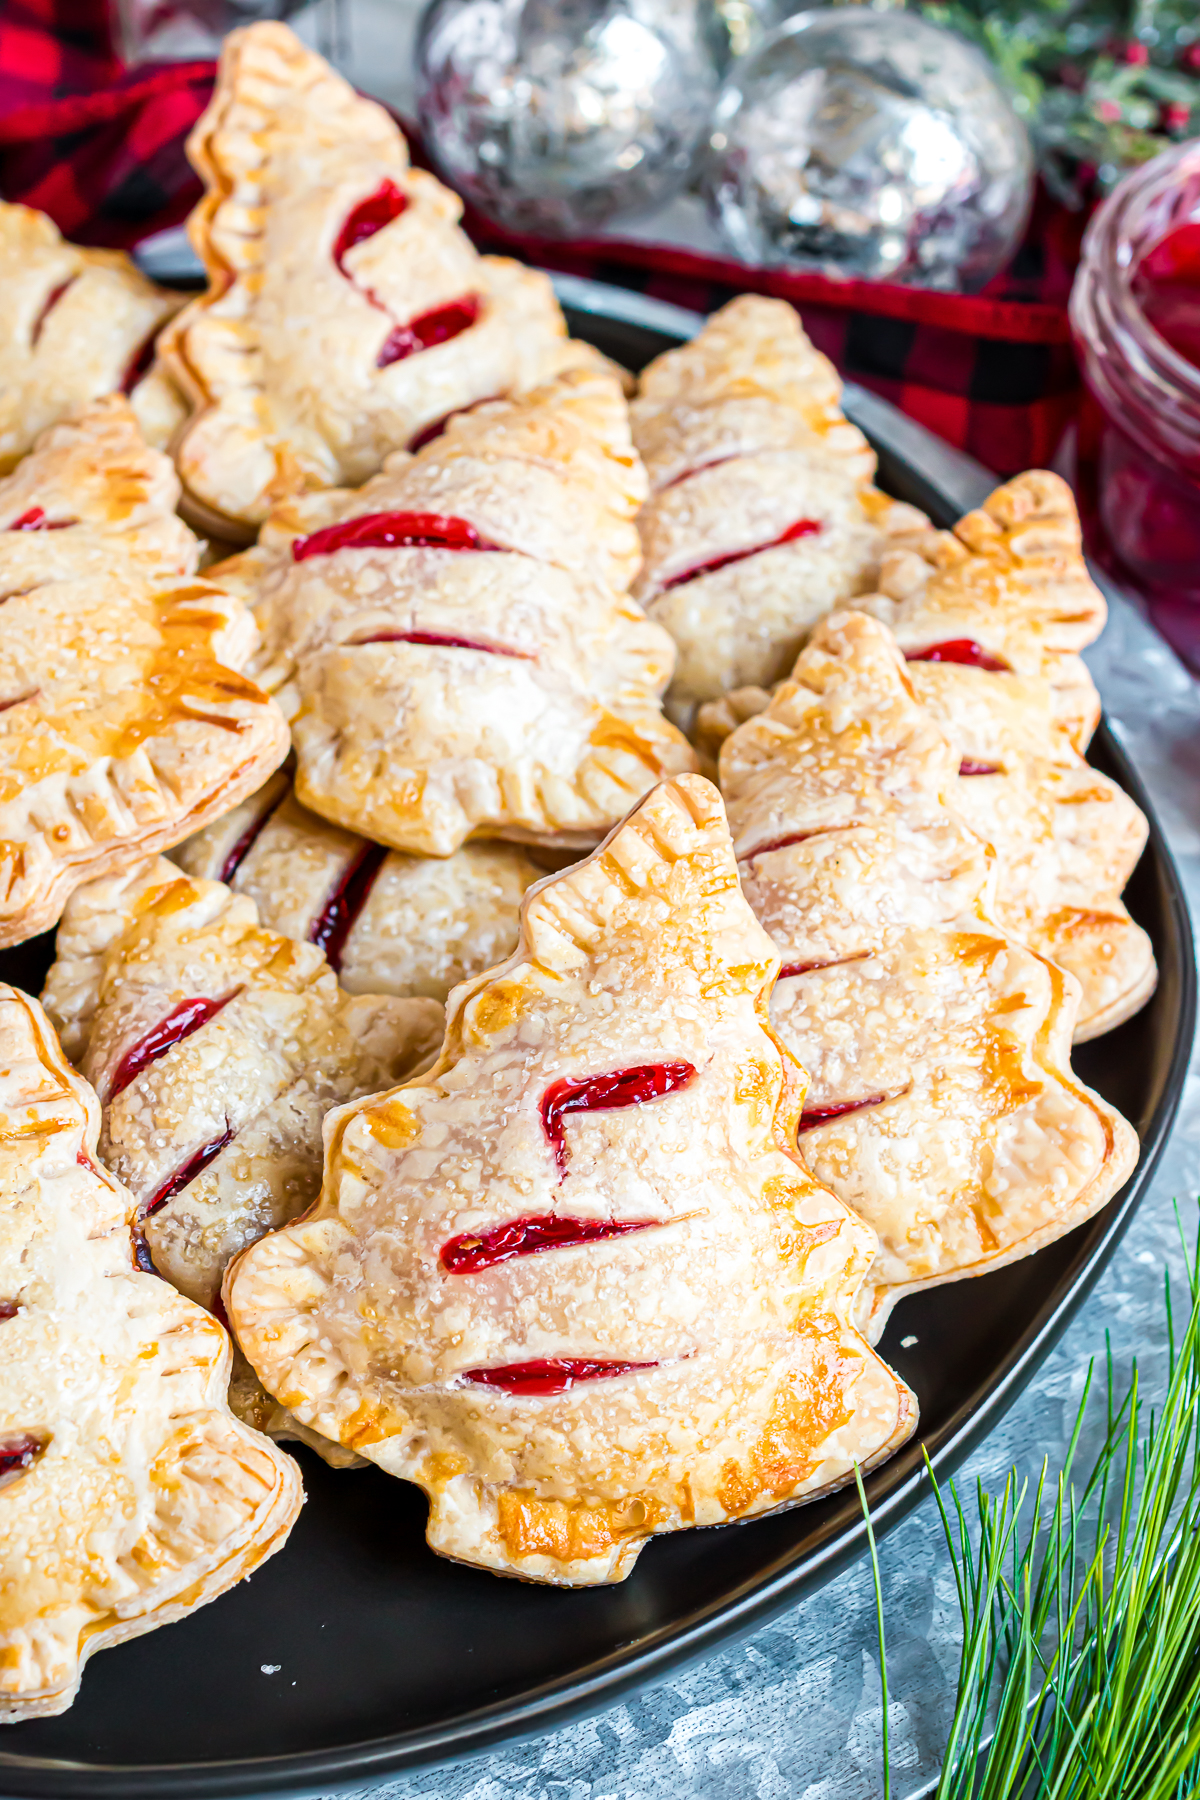
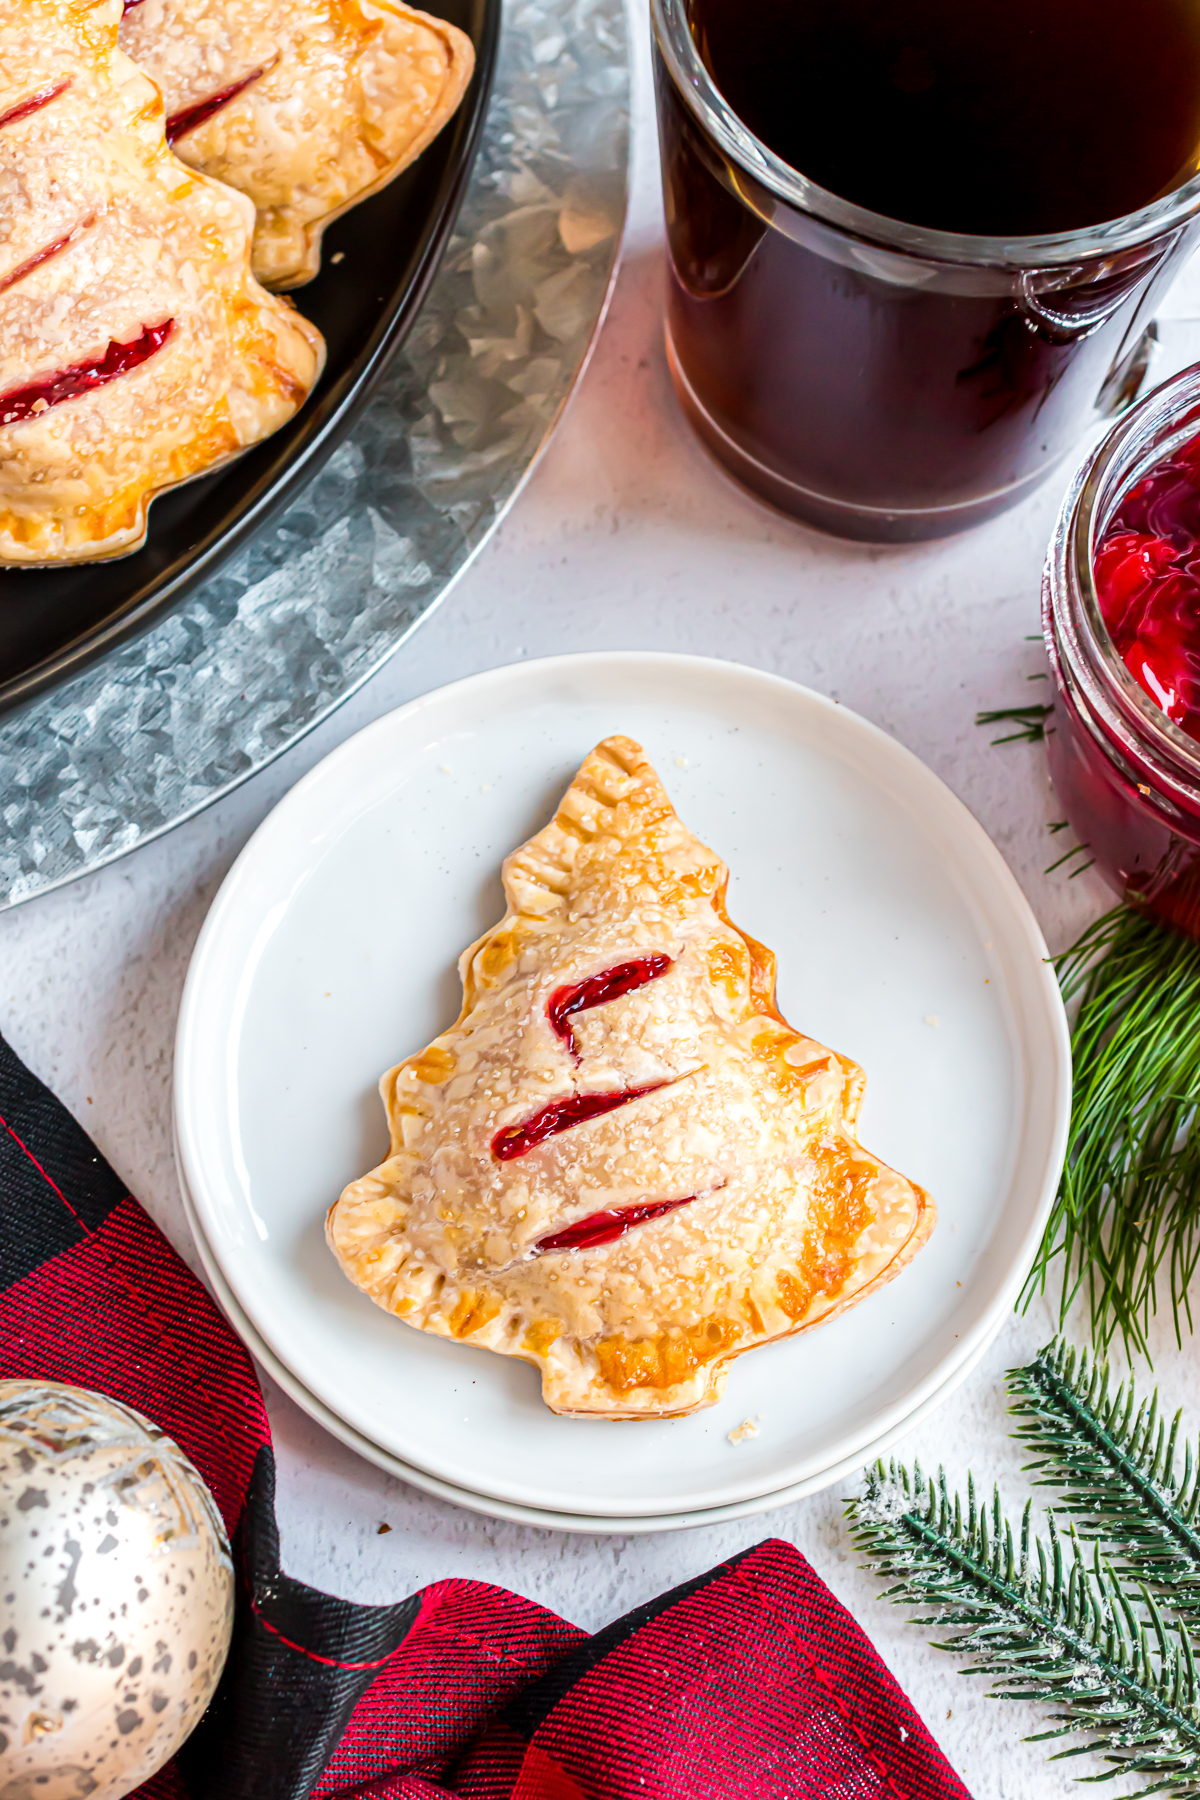
- They Make an Impressive Presentation! These mini cherry hand pies look festive and beautiful in any holiday sweet tray. They can also be wrapped individually in cellophane and make a thoughtful treat for a neighbor, teacher, or friend.
Equipment Needed
- Holiday Cookie Cutter Don't feel limited to using just a tree. Any holiday shape that has a big enough spot for filling would be a great choice. I like this one by Wilton.
- Parchment Paper
- Rolling Pin
- Large Baking Sheet
- Pastry Brush
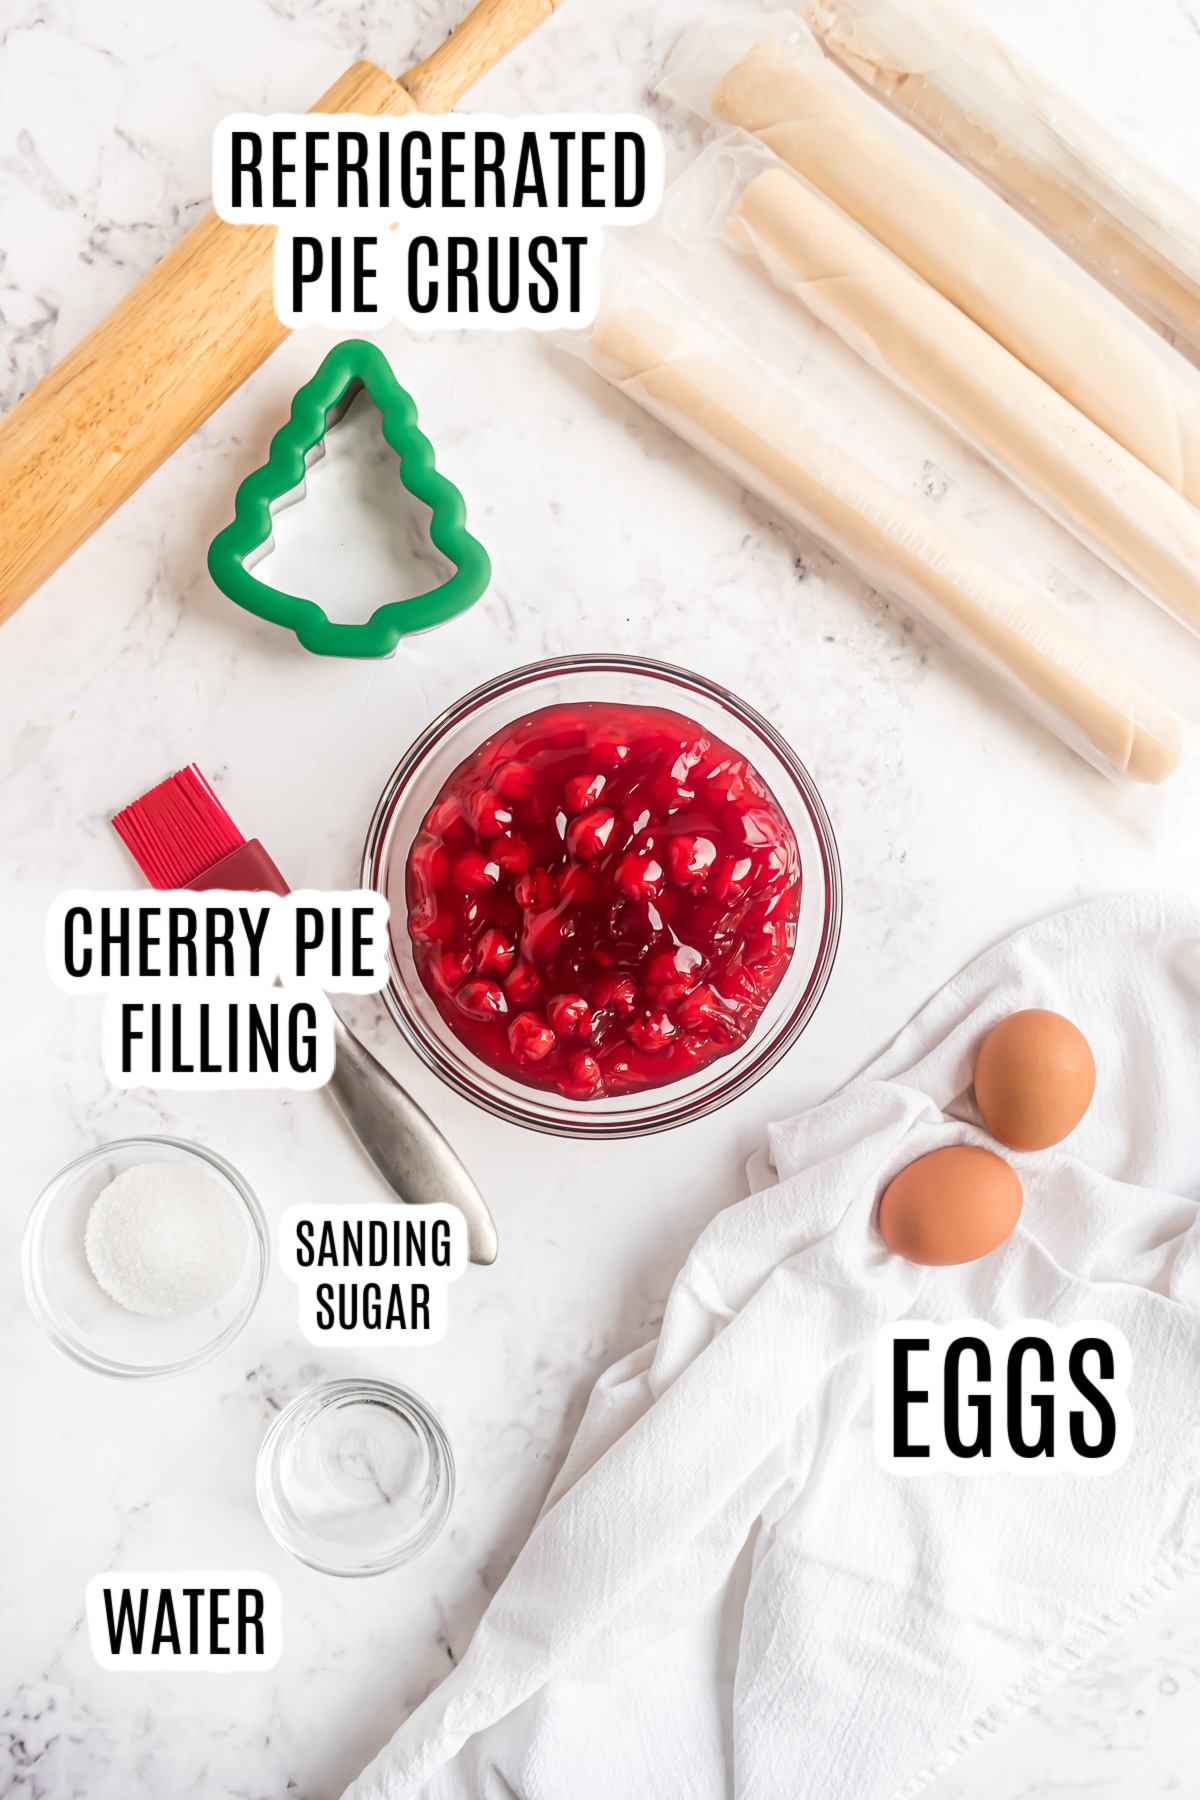
Ingredient Notes
- Ready-made pie crust - I love using a refrigerator pie crusts for the Christmas hand pie, especially when I'm short on time. Thaw it on the counter for about 20 minutes. Unroll it and cut out your shapes with your holiday cookie cutter.
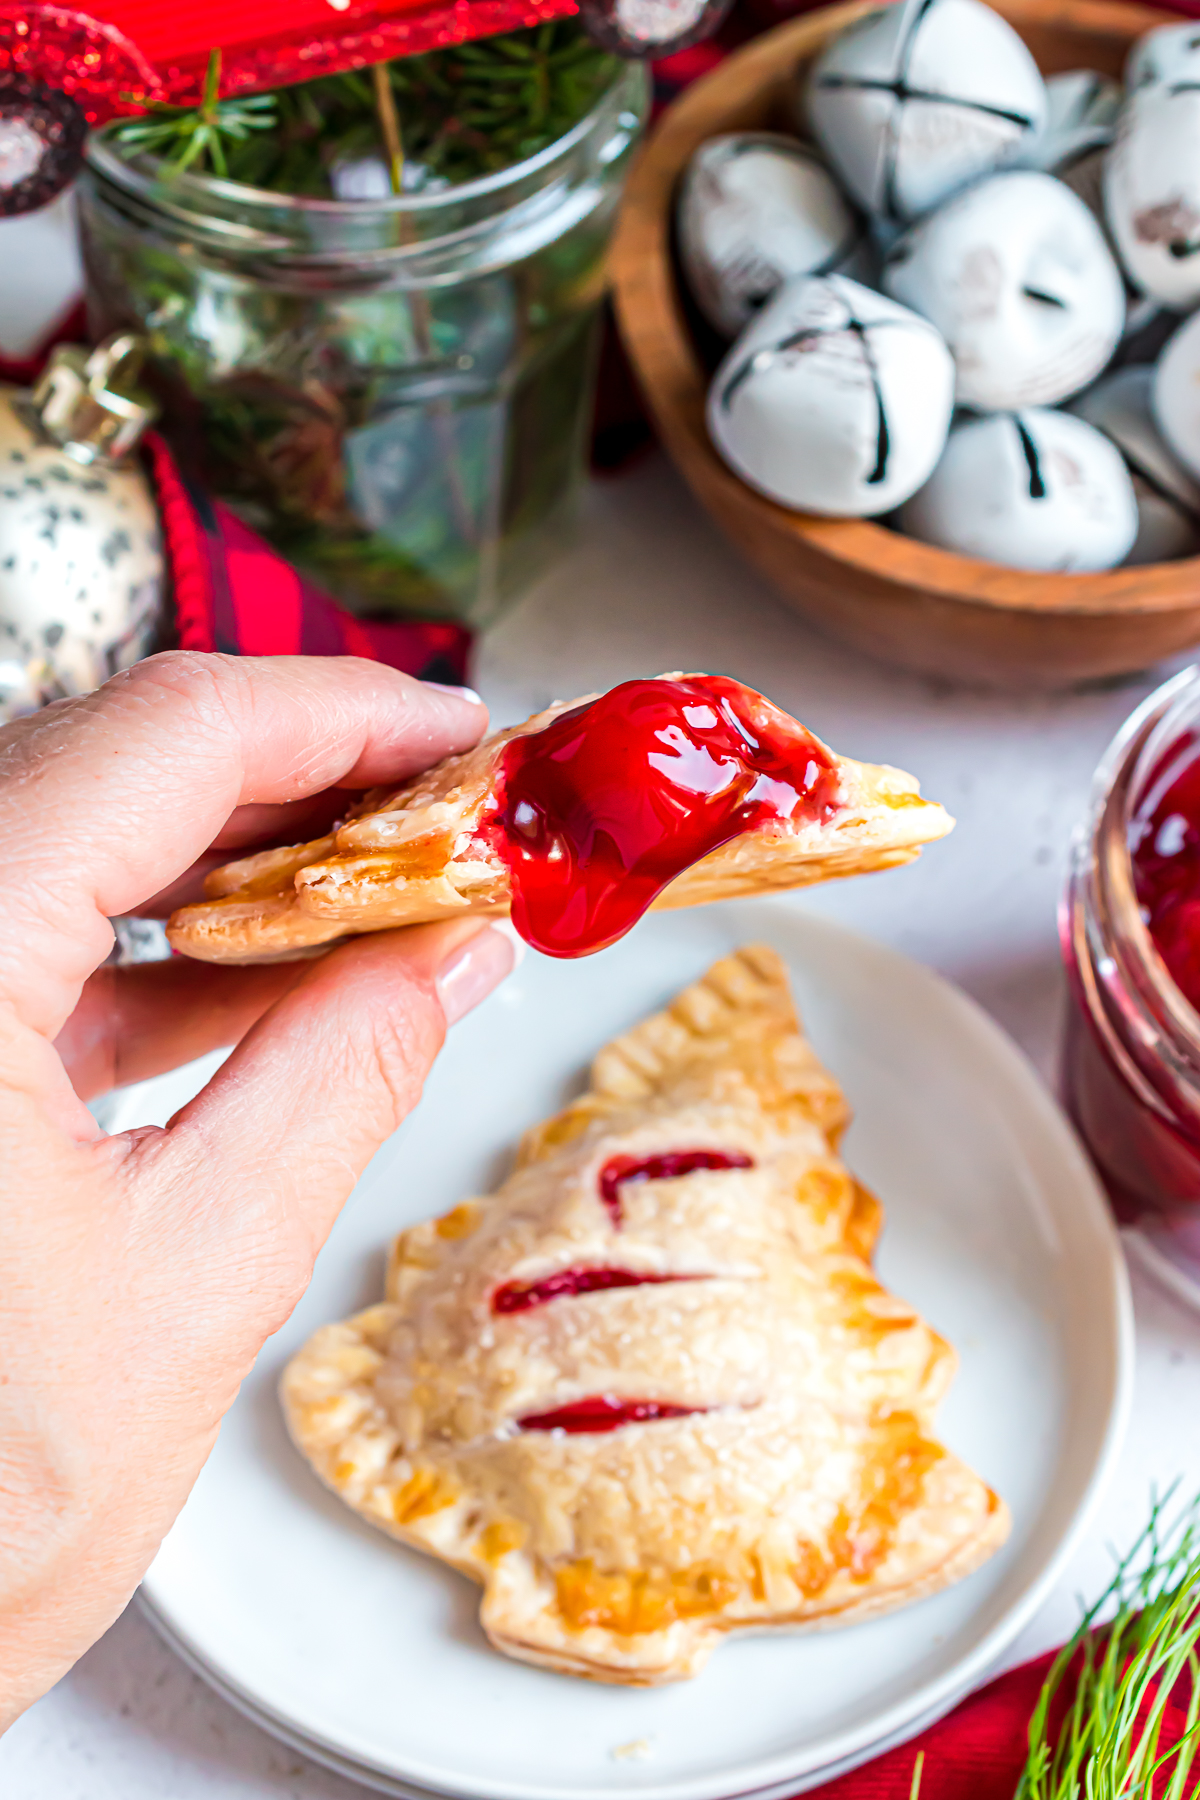
- Canned cherry pie filling - No need to fuss with a made-from-scratch filling. Cherry is my favorite for this Christmas hand pie because it looks so festive. But apple or your favorite would do the trick as well.
- Egg - Creating an egg wash helps the pie crust to brown nicely and also gives the crust a little shine when baked.
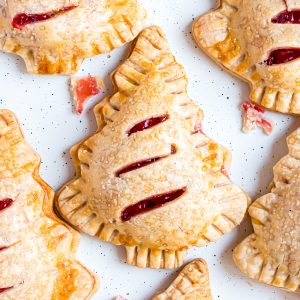
- Coarse sanding sugar - Because, why not? It gives the crust a little holiday sparkle.
*Please scroll down to the recipe card for specific ingredient amounts.
INSTRUCTIONS
Step 1. Preheat oven to 350℉. Thaw the ready-made pie crust, according to package directions. Line a large baking sheet with parchment paper. Set aside.
Step 2. In a small bowl, whisk eggs and water together, set aside.
Step 3. Using a rolling pin, roll out one thawed pie crust, ensuring there are no cracks or holes. The crust should be between ¼” and ⅛” thick.
Step 4. Using a holiday tree cookie cutter, cut out 7 trees. Save the excess crust.
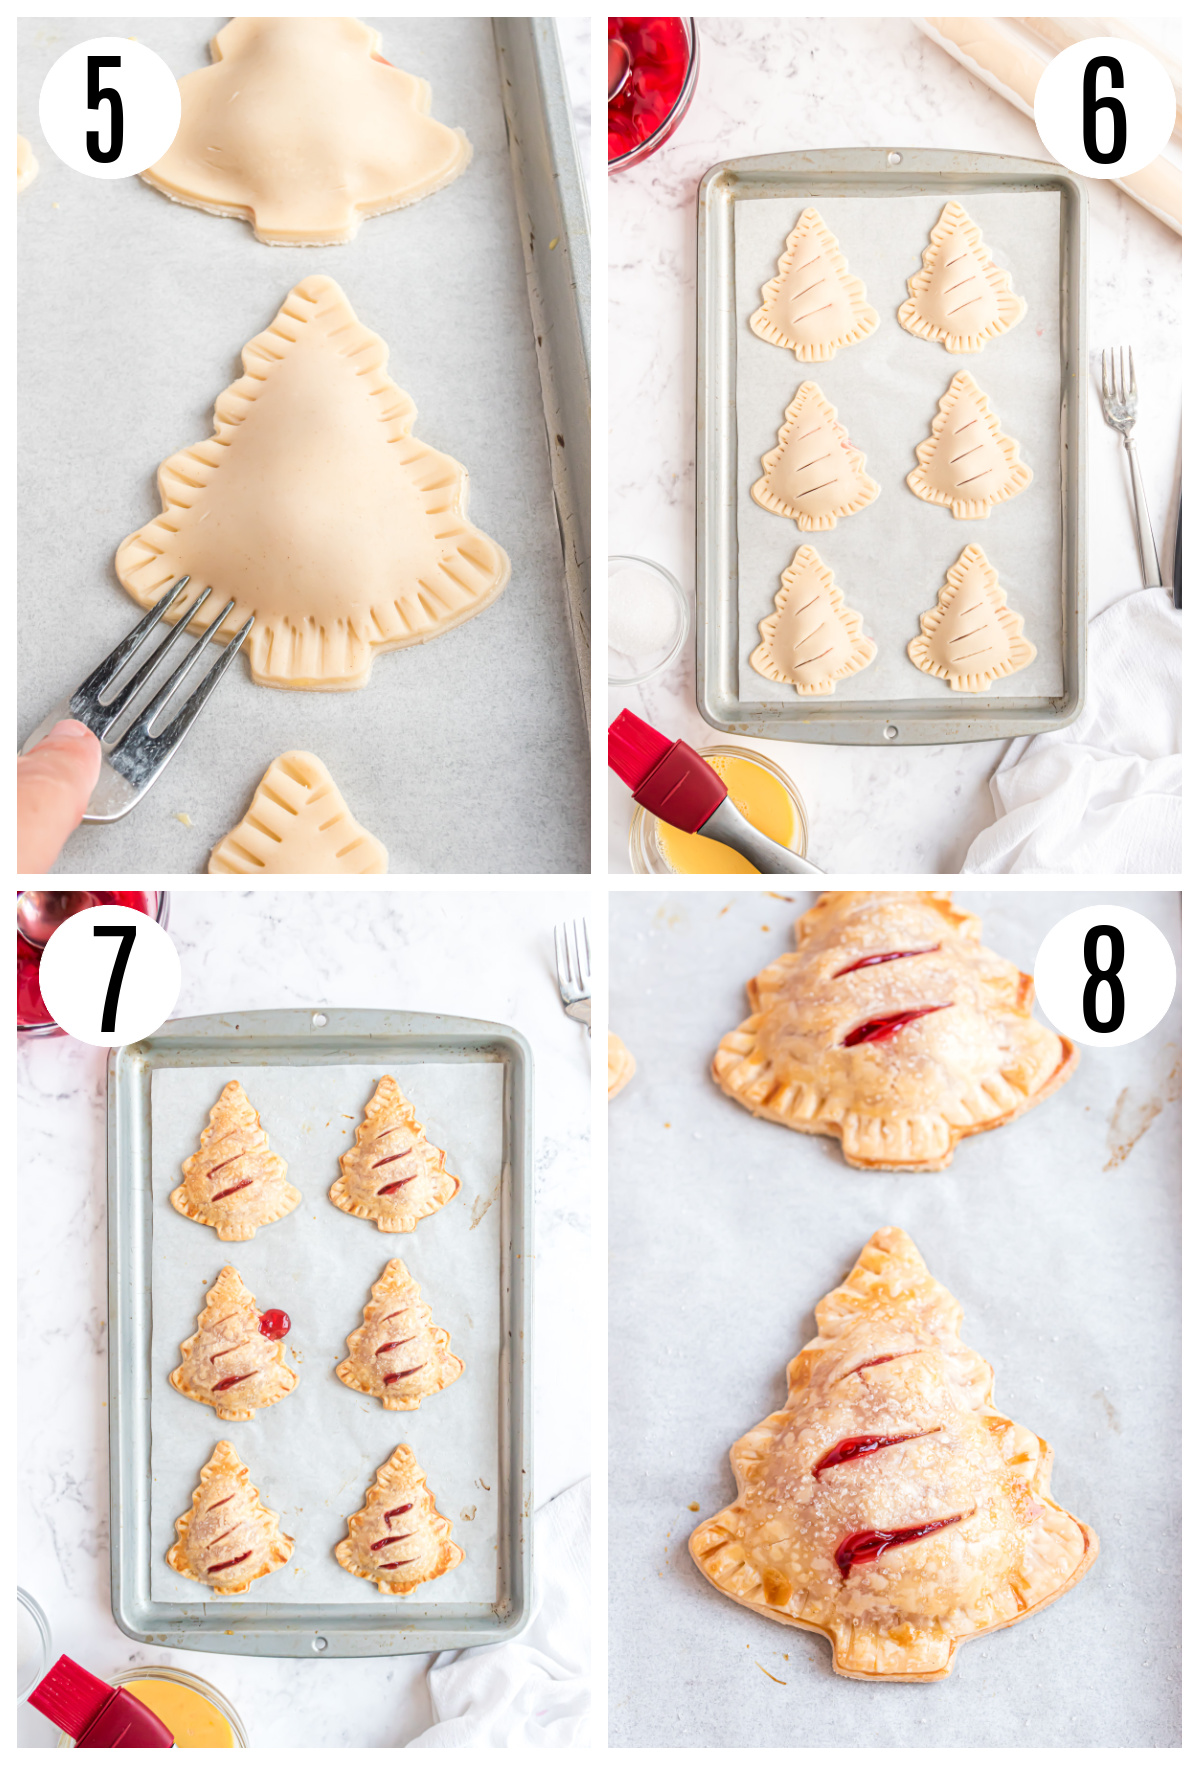
Step 5. Place trees on the parchment lined baking sheet and spoon about 1 - 1 ½ Tablespoons of cherry pie filling into the center of each tree. Brush the border around the filling with egg wash.

Step 6. Roll out a second pie crust and cut out 7 more trees. Save the excess crust. Gently place the trees over the top of the filling. Starting at the trunk, lightly press the edges together, making sure not to press down on the filling.
Step 7. Using the tines of a fork, press the seams together, working around the outline of the tree. Using a sharp knife, make a few slits in the top crust for venting. Brush the top crusts with egg wash and sprinkle with coarse sanding sugar, if desired.
Step 8. Repeat the process with the remaining pie crusts. When all the ready-made pie crust has been used, and all that remains is the excess, combine it all and roll it out, the same thickness as the original crusts, to complete the remaining hand pies.
Step 9. Bake for 20-25 minutes or until golden brown.
Step 10. Transfer to a cooling rack. Serve warm or at room temperature.
Pro Tip
Don't feel limited to using just a tree. Any holiday shape that has a big enough spot for filling would be a great choice.
Storage and Freezing
These Christmas Tree Cherry hand pies are best eaten the same day they are made. However, you can store them covered, at room temperature, on the first day. Then store them in an airtight container in the refrigerator for up to 3 days after that.
To freeze a baked hand pie, place them on a baking sheet in a single layer, and put the sheet in the freezer just until the pies are frozen. Then, place them in individual freezer bags for up to 2 months. Thaw in the refrigerator and serve at room temperature.
Notes/FAQs
- To ensure success with the ready-made crust: Remove the pie crust from the package and let it sit, at room temperature, for 10-15 minutes. This will make the crust much easier to work with and roll out without tearing.
- The egg wash used is a full egg. The white makes the crust shiny, but using a wash with yolk helps the crust become a wonderful golden-brown when baking.
- If you would like to decrease the amount of hand pies, this is certainly an option. Two (2) boxes of ready-made pie crusts will make about 18-20. You will have some leftover cherry pie filling.
Sure! We picked cherry because it is a popular holiday choice and looks very festive peeking through the slits. I have even added a teaspoon of almond extract to the filling. But apple would be a great choice too!
To make sure to get as much pie filling in each hand pie as possible, I try and get about 3-4 cherries per hand pie or about 1 to 1 ½ Tablespoons per hand pie. But, it’s totally fine if some of the filling seeps out the edges and gives the cherry hand pies a homemade charm.
It is optional, but it made the pies so much prettier versus those where it wasn’t used. Alternatives could be red and green colored sugar.
Cherry Christmas Tree Hand Pies
Equipment
- Rolling Pin
- parchment paper
- Holiday Cookie Cutter
- Pastry Brush
- Large Baking Sheet
Ingredients
- 3 boxes of ready-made pie crust 2 crusts each
- 1 21-ounce can of cherry pie filling
- 2 large eggs
- 2 Tablespoons of water
- Coarse sanding sugar optional
Instructions
- Preheat oven to 350℉. Thaw the ready-made pie crust, according to package directions.
- Line a large baking sheet with parchment paper. Set aside.
- In a small bowl, whisk eggs and water together, set aside.
- Using a rolling pin, roll out one thawed pie crust, ensuring there are no cracks or holes. The crust should be between ¼” and ⅛” thick.
- Using a holiday tree cookie cutter, cut out 7 trees. Save the excess crust.
- Place trees on the parchment lined baking sheet and spoon about 1 - 1 ½ Tablespoons of cherry pie filling into the center of each tree. Brush the border around the filling with egg wash.
- Roll out a second pie crust and cut out 7 more trees. Save the excess crust. Gently place the trees over the top of the filling. Starting at the trunk, lightly press the edges together, making sure not to press down on the filling.
- Using the tines of a fork, press the seams together, working around the outline of the tree. Using a sharp knife, make a few slits in the top crust for venting. Brush the top crusts with egg wash and sprinkle with coarse sanding sugar, if desired.
- Repeat the process with the remaining pie crusts. When all the ready-made pie crust has been used, and all that remains is the excess, combine it all and roll it out, the same thickness as the original crusts, to complete the remaining hand pies.
- Bake for 20-25 minutes or until golden brown.


Braghan says
These look so yummy and festive! I can't wait to make these for my kids!
Thanks, Braghan! I hope you love them! They're so easy!