

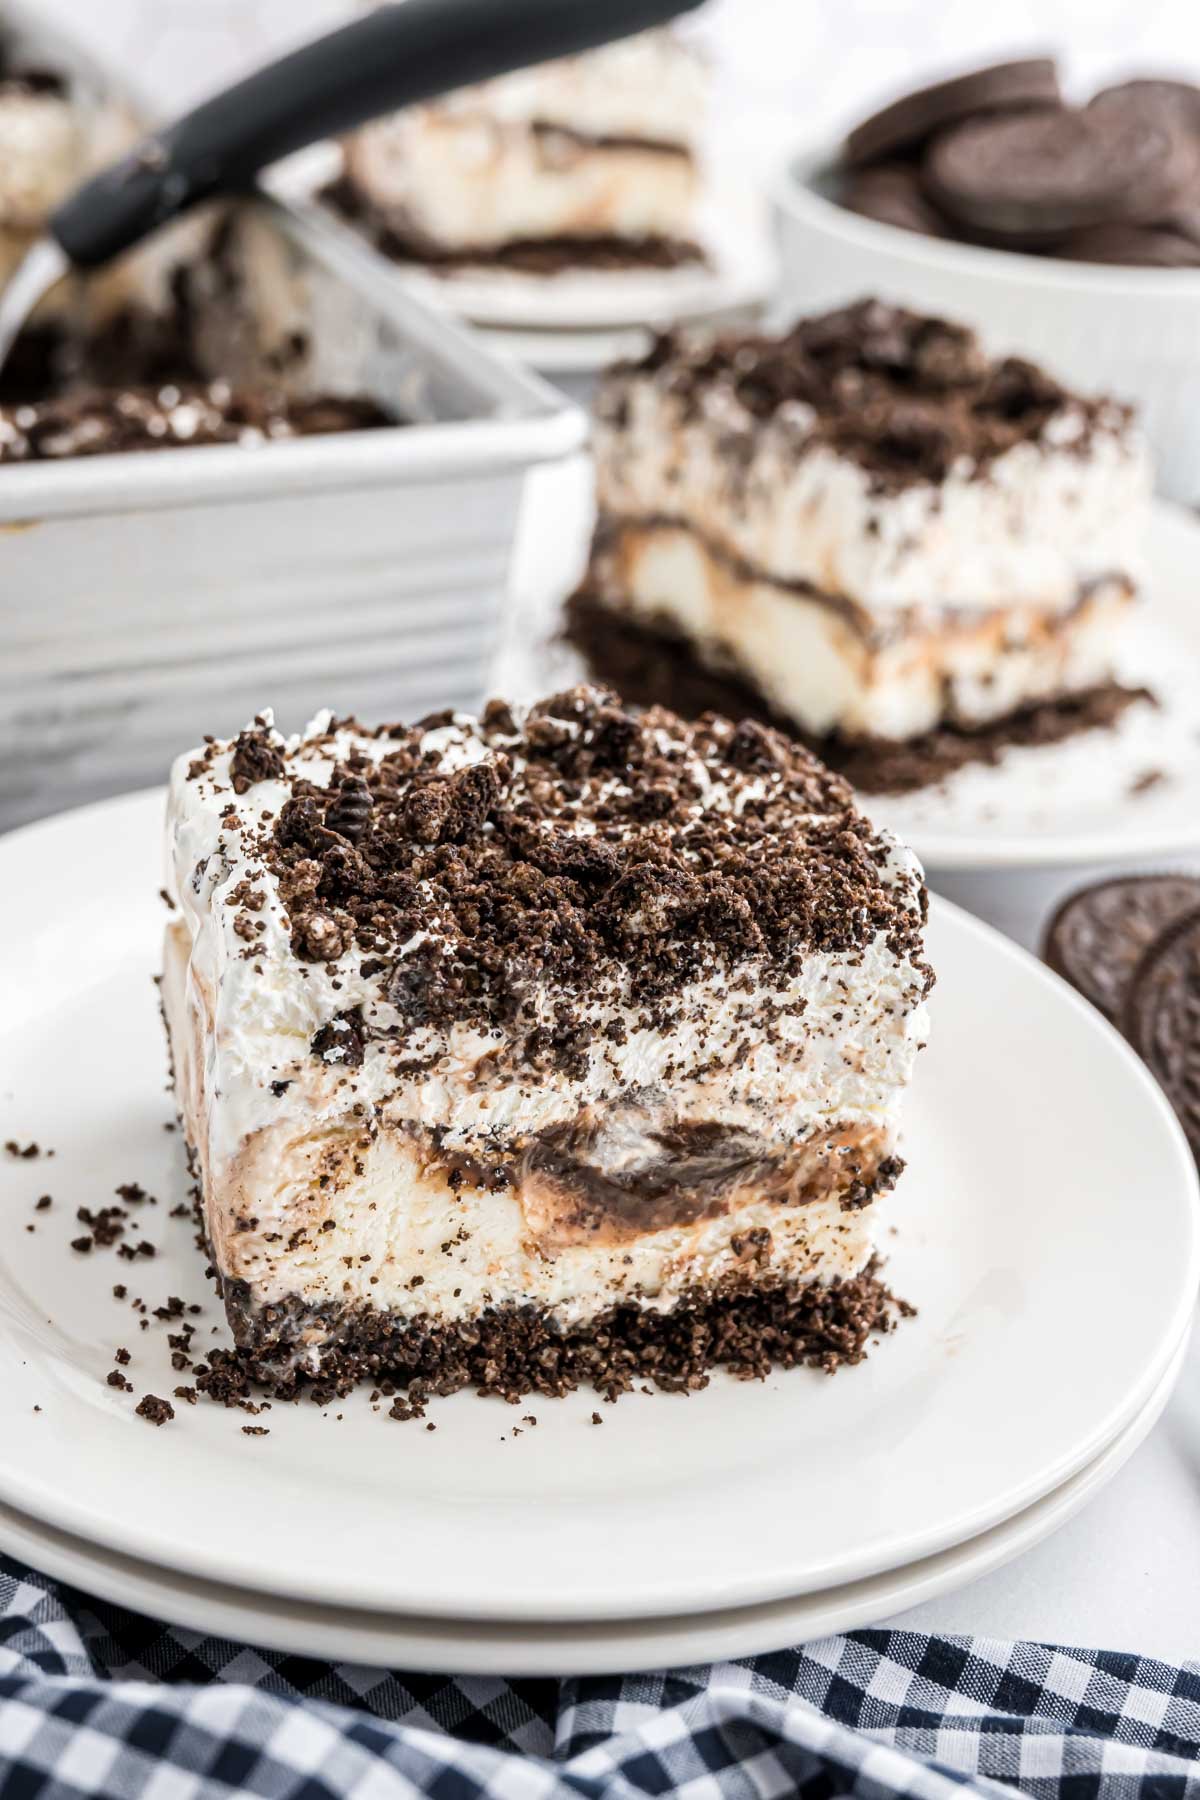
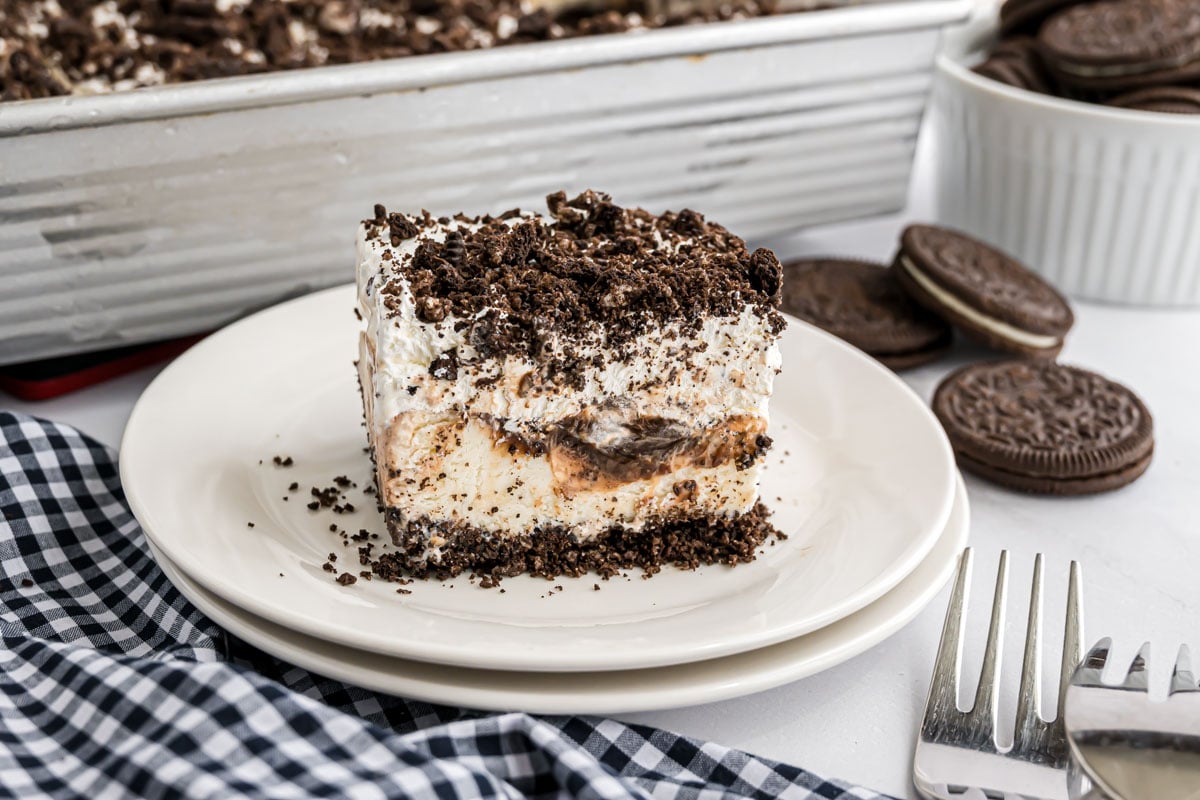
This Oreo Ice Cream Cake has been a family favorite since I was a kid. It’s one of those nostalgic, crowd-pleasing desserts that shows up at birthdays, barbecues, and summer gatherings—and it never lasts long.
A few years ago, I needed a quick dessert to bring to a 4th of July picnic at our family cabin in Northern Wisconsin, where the kitchen is stocked with just the basics and the local grocery store doesn’t go much beyond the essentials.
This 4-ingredient Oreo Ice Cream Dessert immediately came to mind.
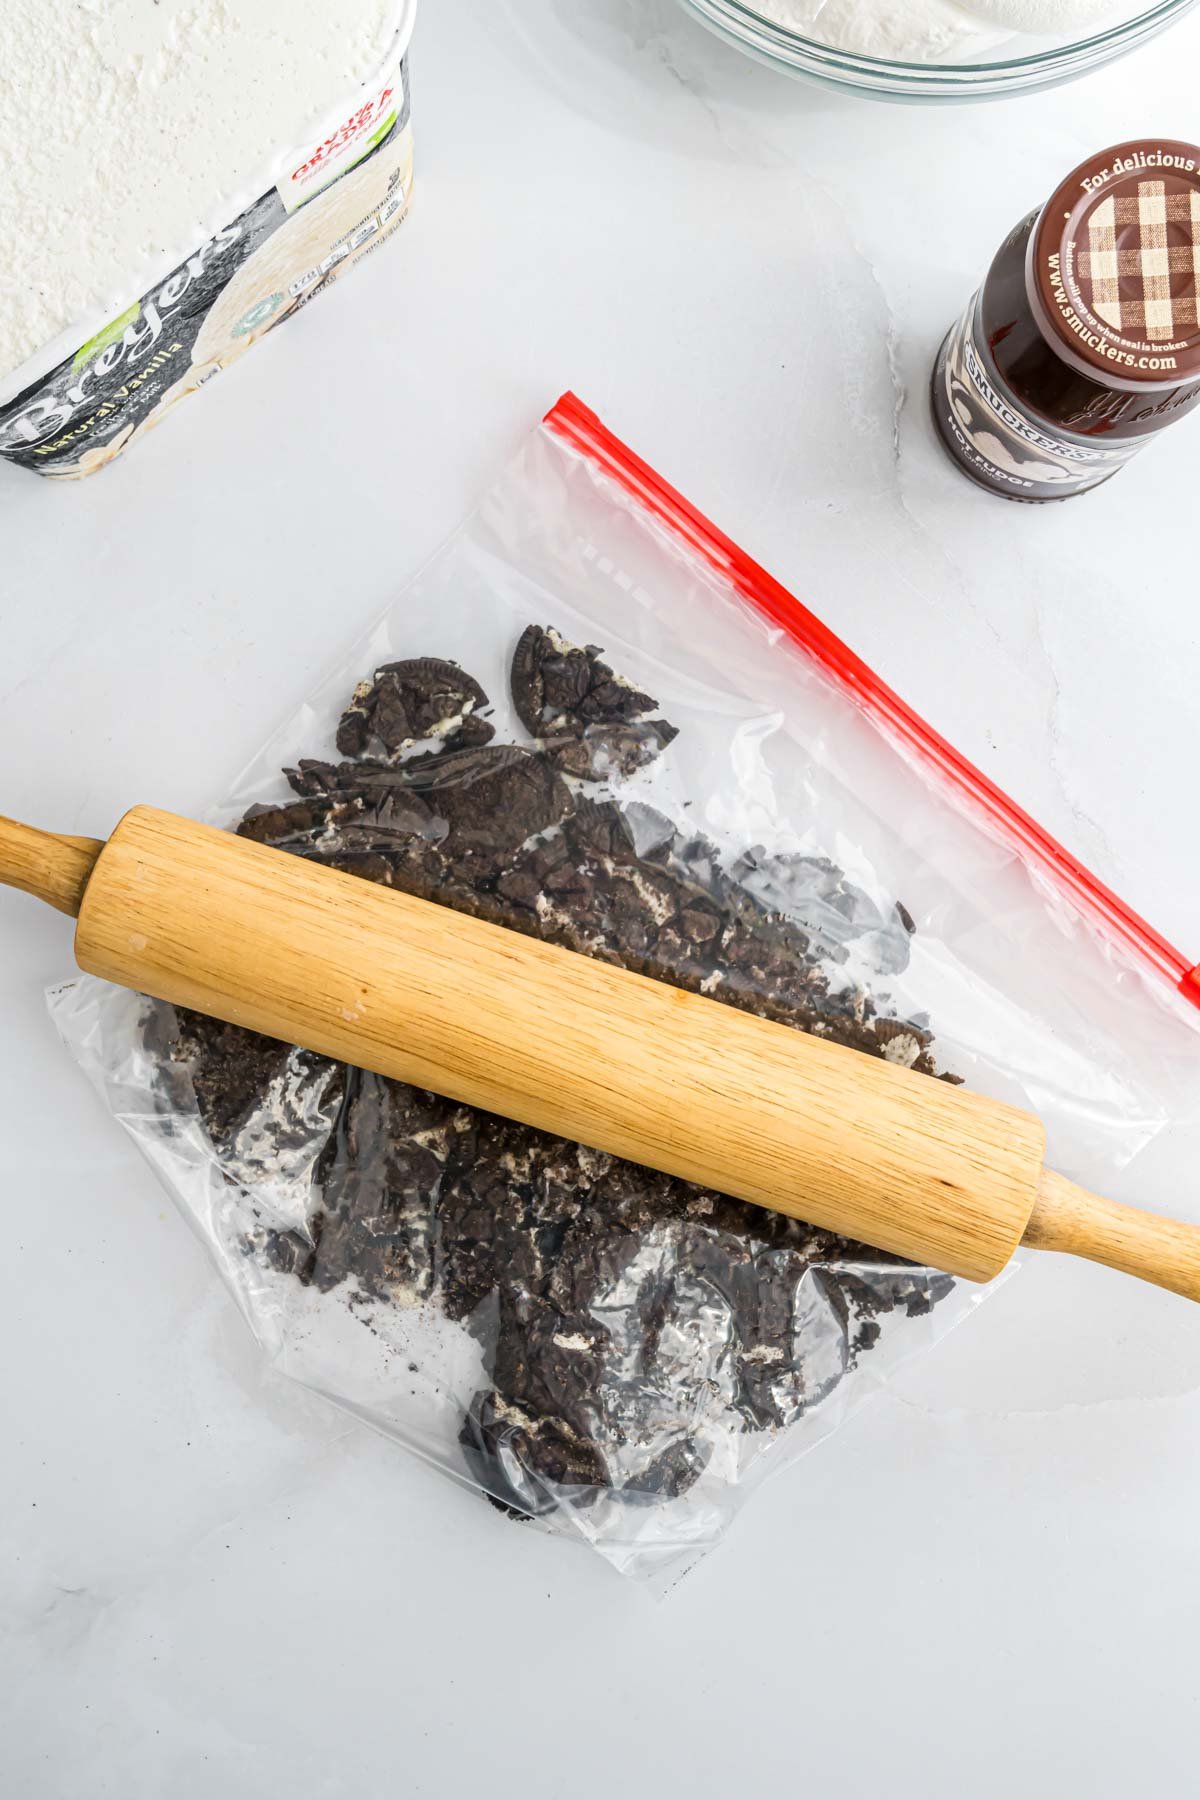
No food processor, no stand mixer—not even a rolling pin. I ended up crushing the Oreo cookies by rolling a canned good back and forth over a plastic bag. Not glamorous, but it got the job done!
Even with limited tools and ingredients, the dessert was a hit. People were scraping the bottom of the pan and fighting over the last square. And since then, it's been at the top of the request list for our annual cookout at the lake.
And, because some traditions are just too good not to share, I'm publishing the recipe for you to share.
Jump to:
Why This Is The Best Oreo Ice Cream Cake Recipe?
You’ll come back to this Oreo Ice Cream Dessert over and over, and here's why:
- Just 4 simple ingredients you can find at any grocery store.
- Requires only basic kitchen tools - even a canned good can sub in for a rolling pin.
- No-Bake Dessert - Cool, creamy, and always a hit at summer parties, birthdays, or cookouts.
- It makes a 9" x 13" pan that's fit for serving a crowd. And, it's easy to double or triple if needed to make more than one pan.
If you are looking for a few more no-bake dessert options, try my No Bake Lemon Cheesecake Pie, Key Lime Pie, or Cherry Cheesecake with Graham Cracker Crust.

Natalie’s Tips
- No rolling pin? Use a mallet or anything heavy to crush the Oreo cookies inside a resealable plastic bag. Or, if you're lucky to have one, a food processor makes it even faster. Make sure not to process the cookies too much - 10 pulses is about all you'll need to do. The cookies need to stay somewhat chunky to form the bottom layer.
- Soften the ice cream slightly at room temperature (about 10 minutes) before layering. It makes spreading easier.
- Use a foil pan for quick clean-up and easy transport - perfect for picnics and birthday parties.
- Use a thick, hot fudge ice cream topping for the chocolate layer. I like Smucker's Hot Fudge. Don't use a syrup like Hershey's. It's too thin.
- To slice, dip a sharp knife in hot water for smooth, clean cuts.
- This dessert freezes well - I always make it the night before and let it firm up overnight.
Substitutions and Variations
- Swap the vanilla ice cream for mint chocolate chip, cookies and cream, peanut butter, or any other favorite ice cream flavors.
- Gluten-free Oreos are a good option for someone with a gluten allergy.
- When serving this dessert, drizzle the pieces with chocolate syrup, caramel sauce, or add a swirl of whipped cream or some fun sprinkles.
- It’s not a traditional cake, but with its layers of chocolate, ice cream, and whipped topping, no one complains! Use a springform pan or cake pans if you prefer a round presentation.
- Oreo "Crust" - For a more solid crust, I recommend using a food processor to finely crumble the cookies. Once the cookies are crushed, drizzle ½ cup of melted butter into the food processor while pulsing. Then press the cookie mixture into the bottom of a 9" x 13" dish.
Ingredients
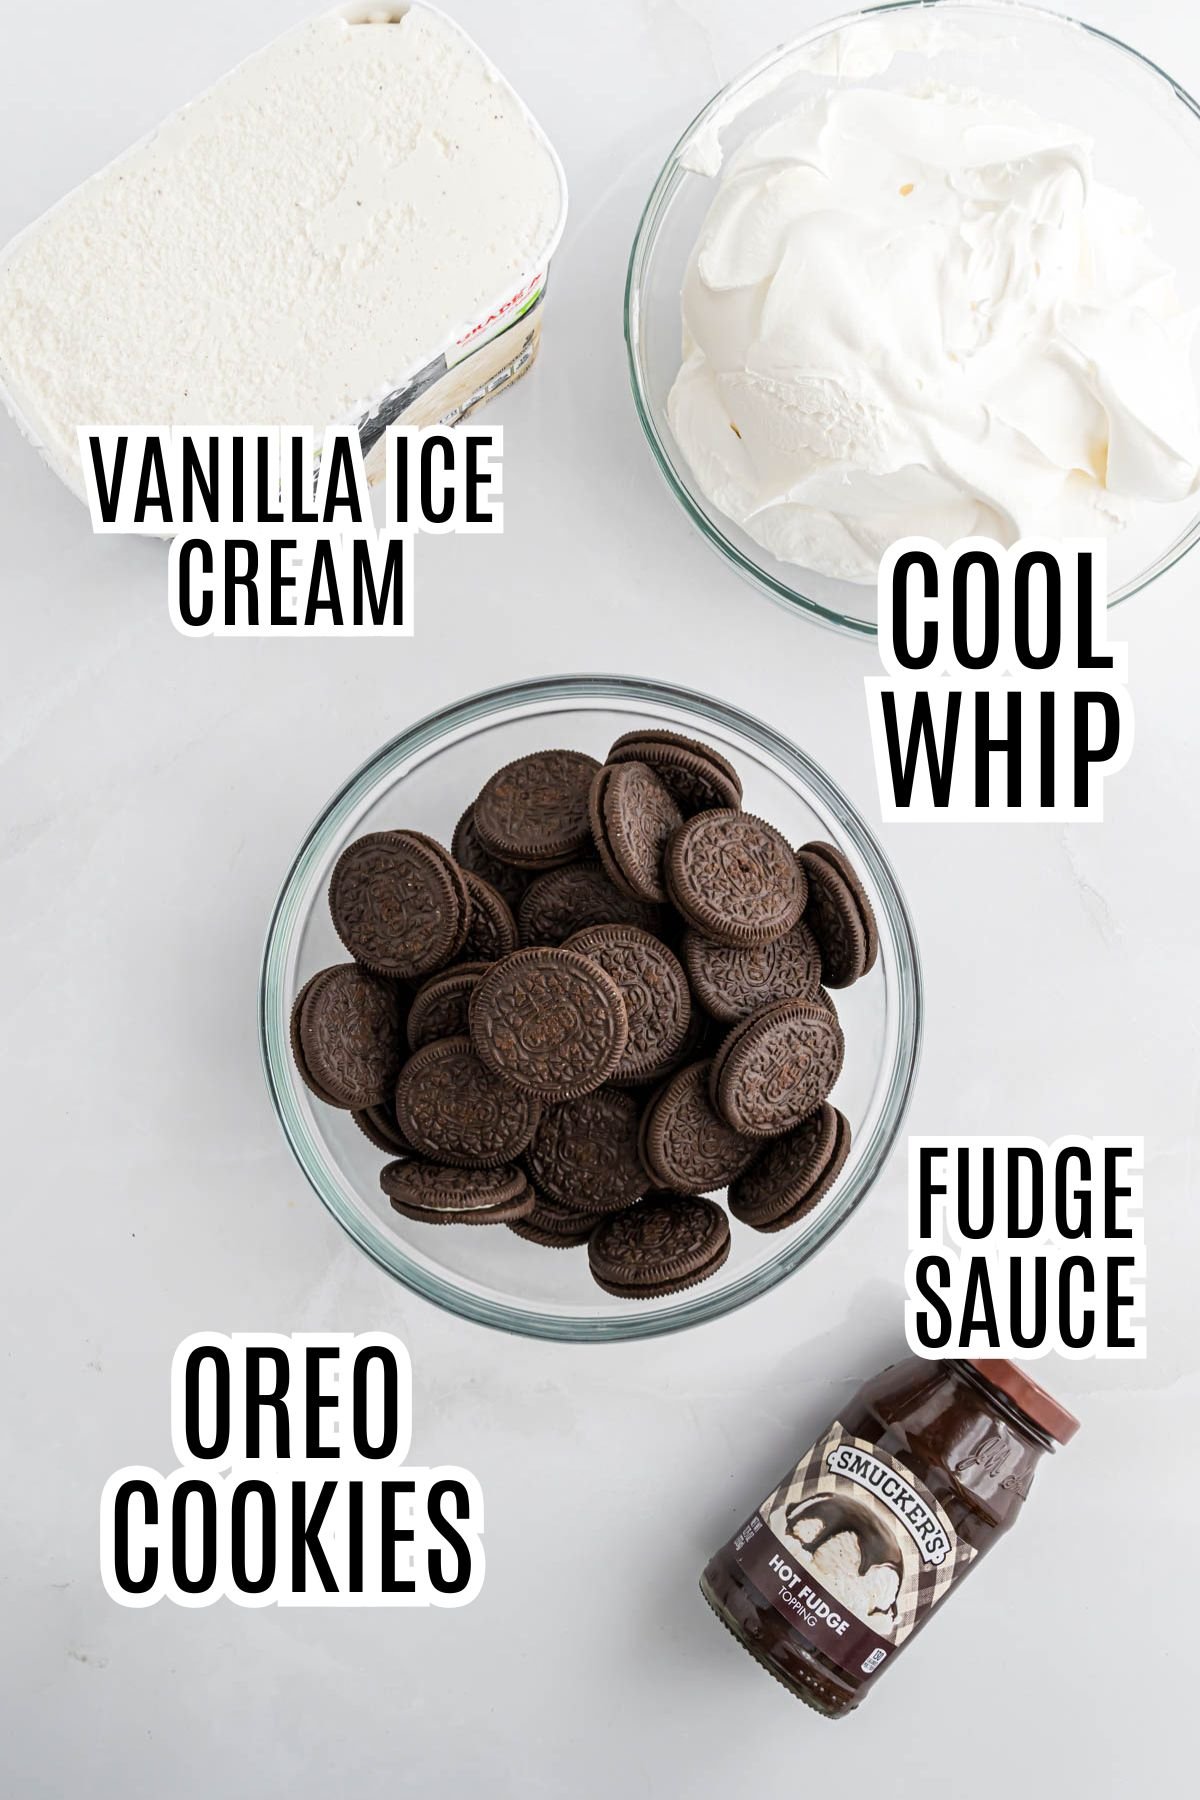
*For specific ingredient amounts, please scroll down to the full recipe card.
How to Make This Delicious Oreo Ice Cream Cake
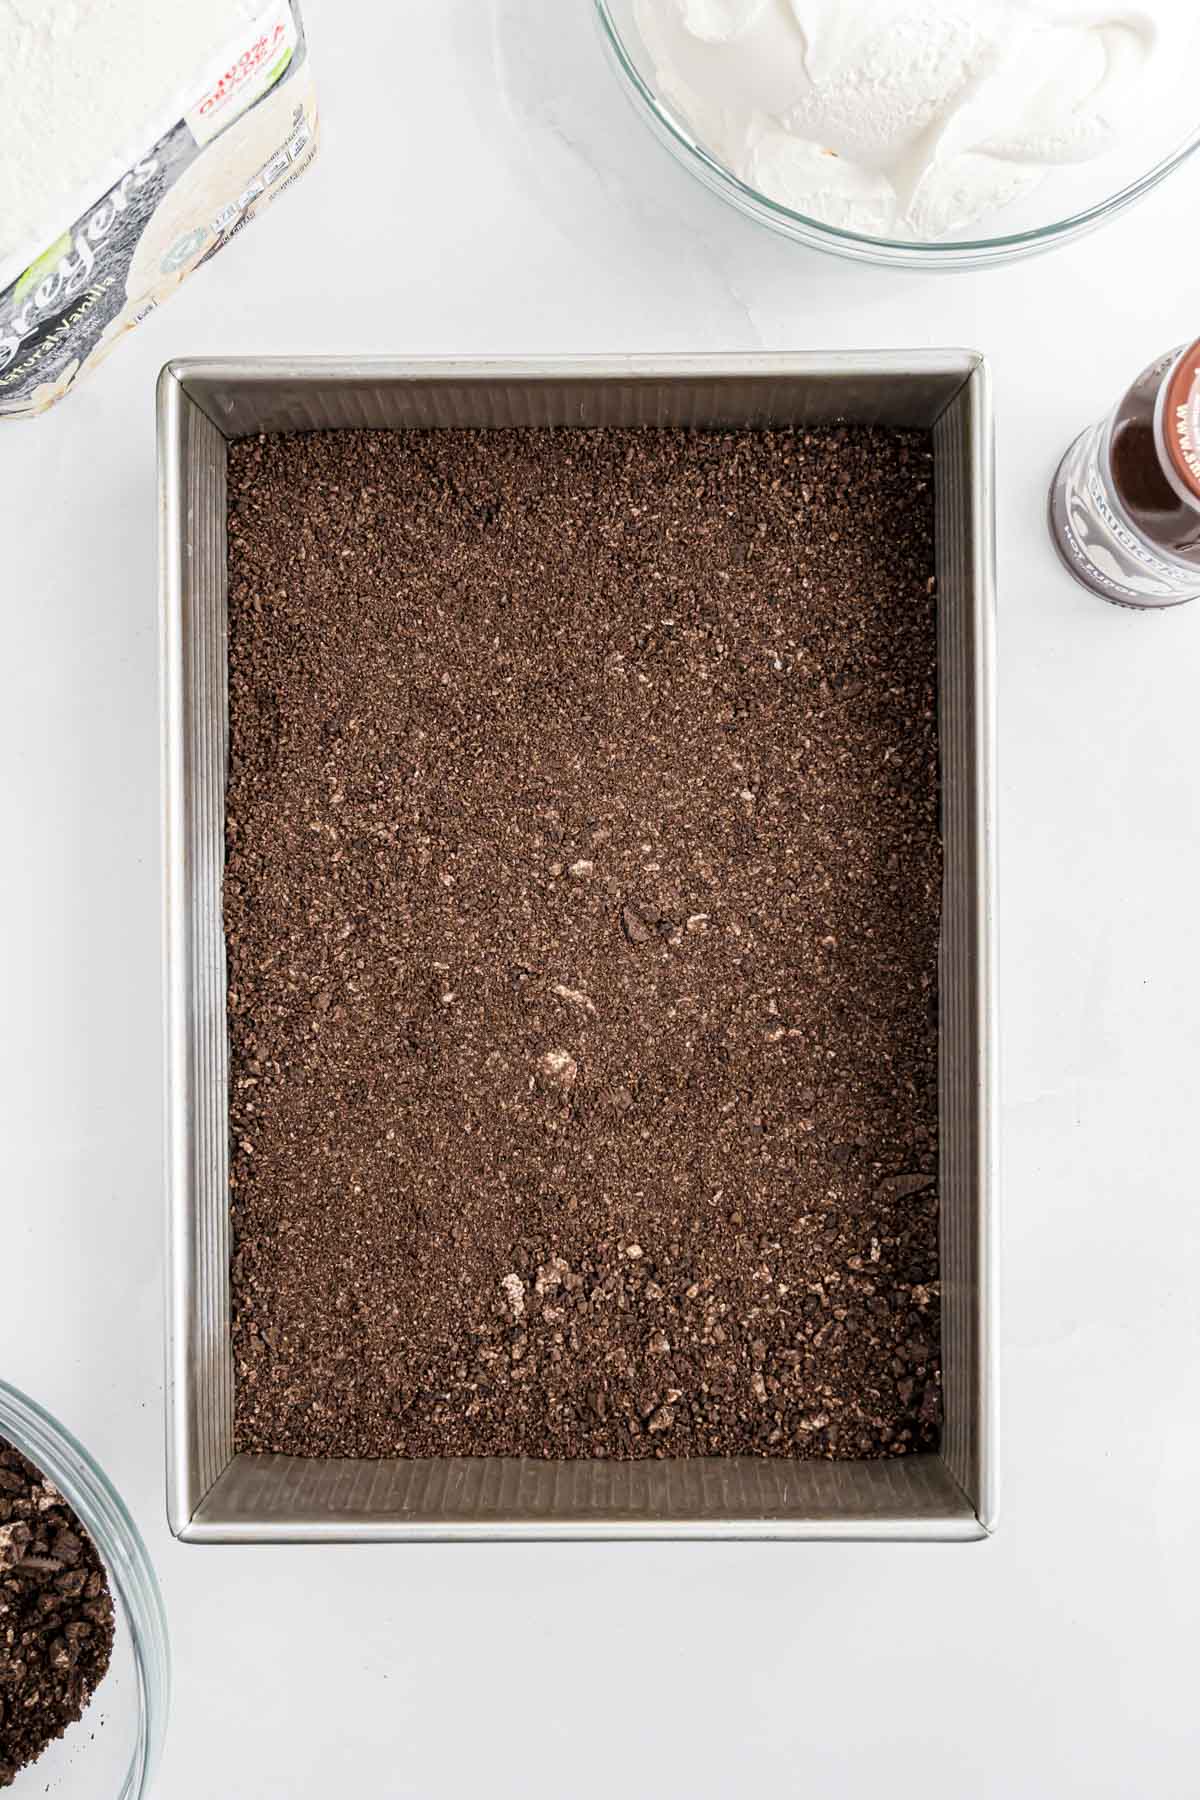
Step 1. Crush the Cookies. Place 10–15 Oreo cookies at a time in a plastic bag, then crush them using a rolling pin, mallet, or canned good (like I had to at the cabin!). Repeat until all cookies are crushed. Spread into an even layer to form the cookie crust at the bottom of your prepared pan. Save a few crushed Oreos for topping.
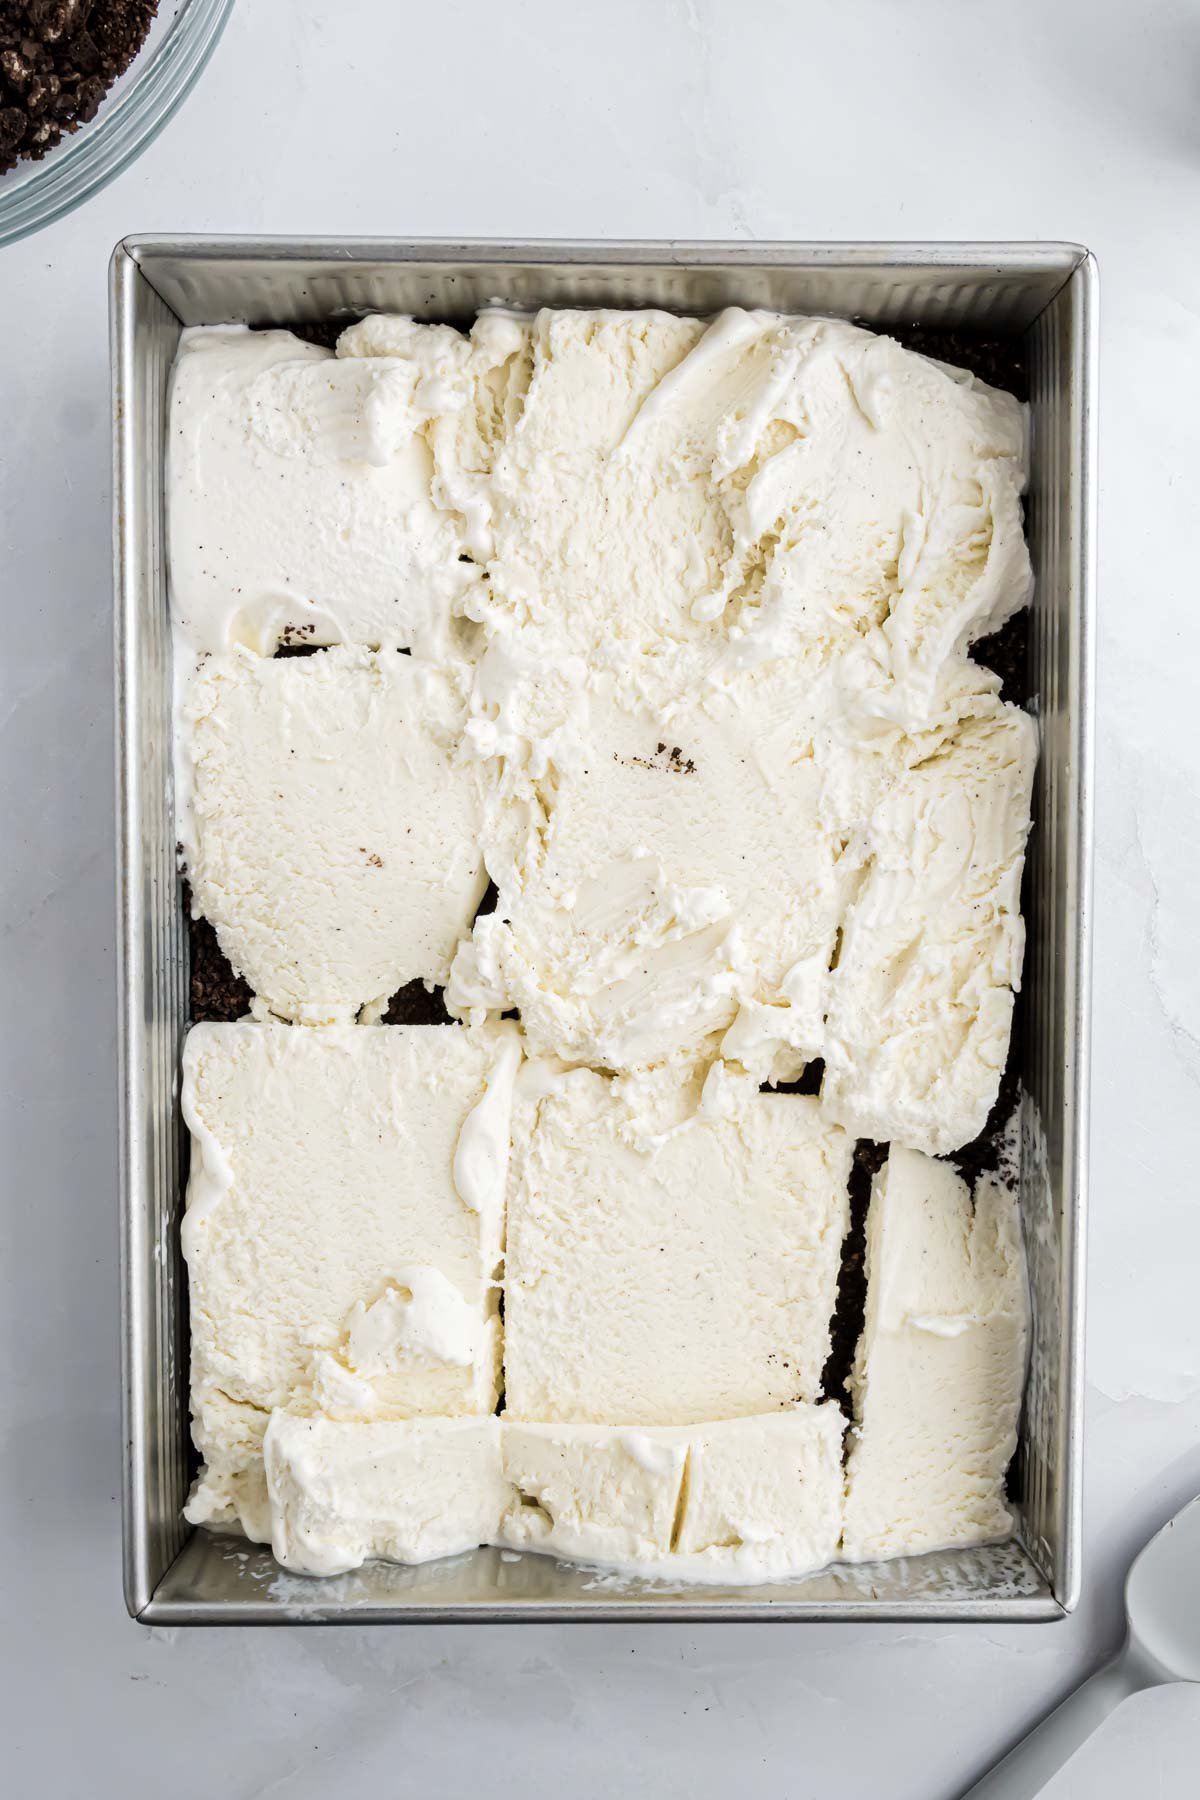
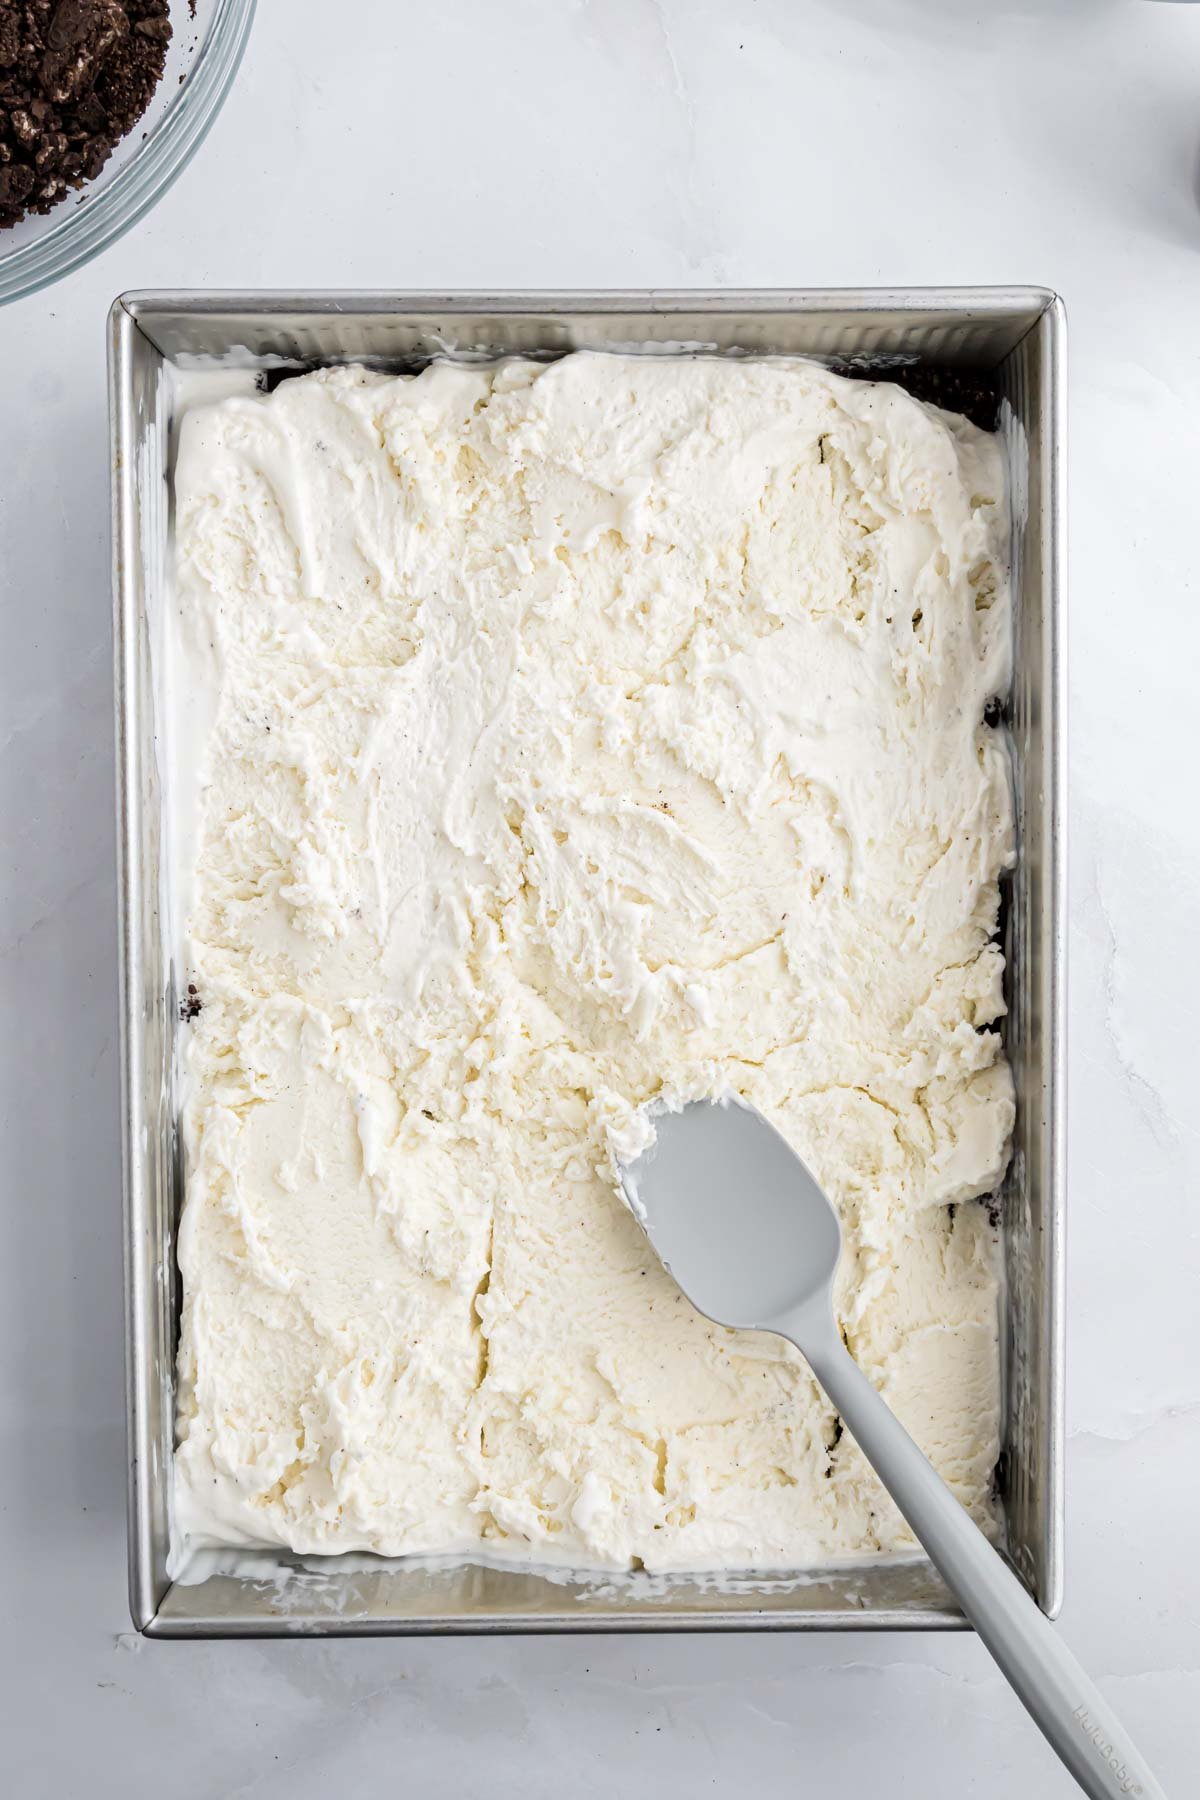
Step 2. Layer the Ice Cream. Cut the softened ice cream into ½-inch slabs and lay them across the cookie crust. Press gently into an even layer. As the ice cream melts, you can smooth it into a more uniform layer with a rubber spatula. It doesn't have to be perfect. It will all get covered by fudge and Cool Whip, so nobody will see it.
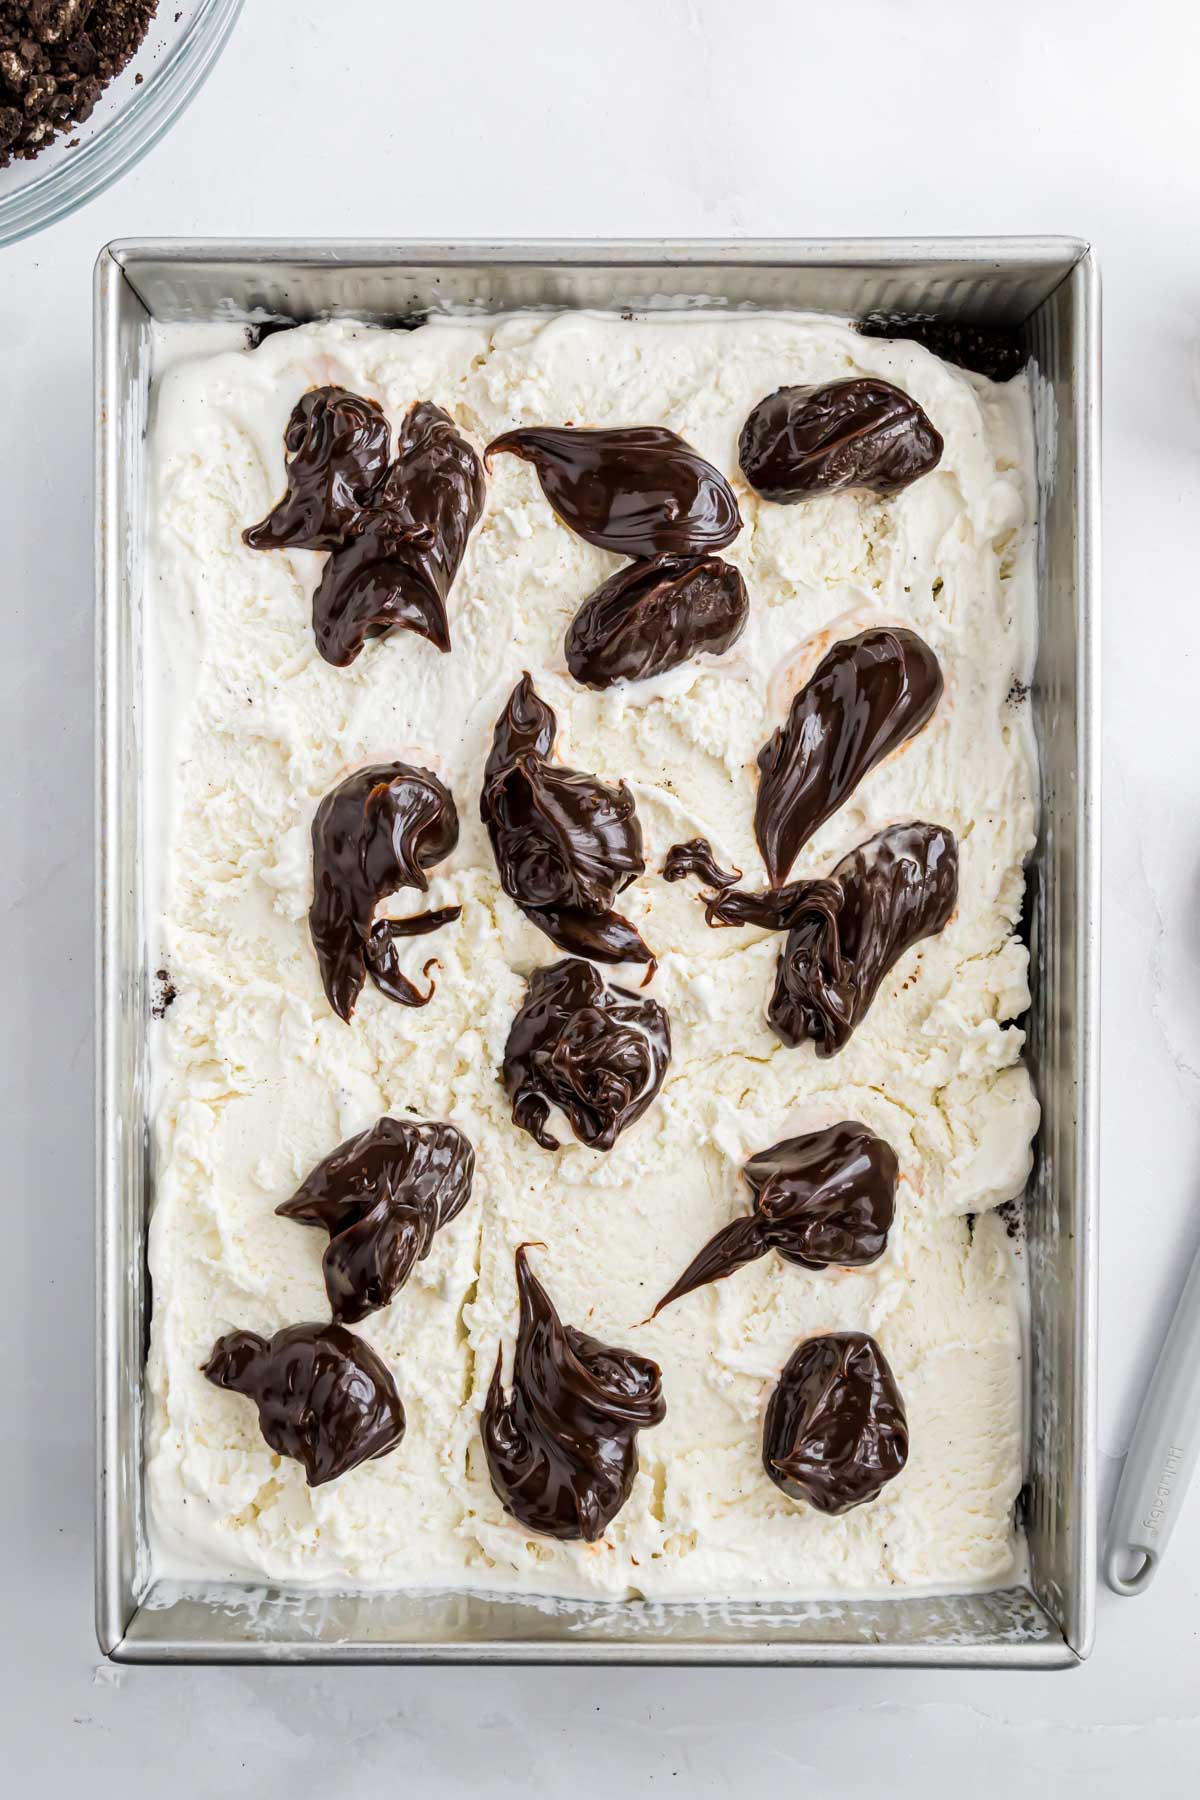
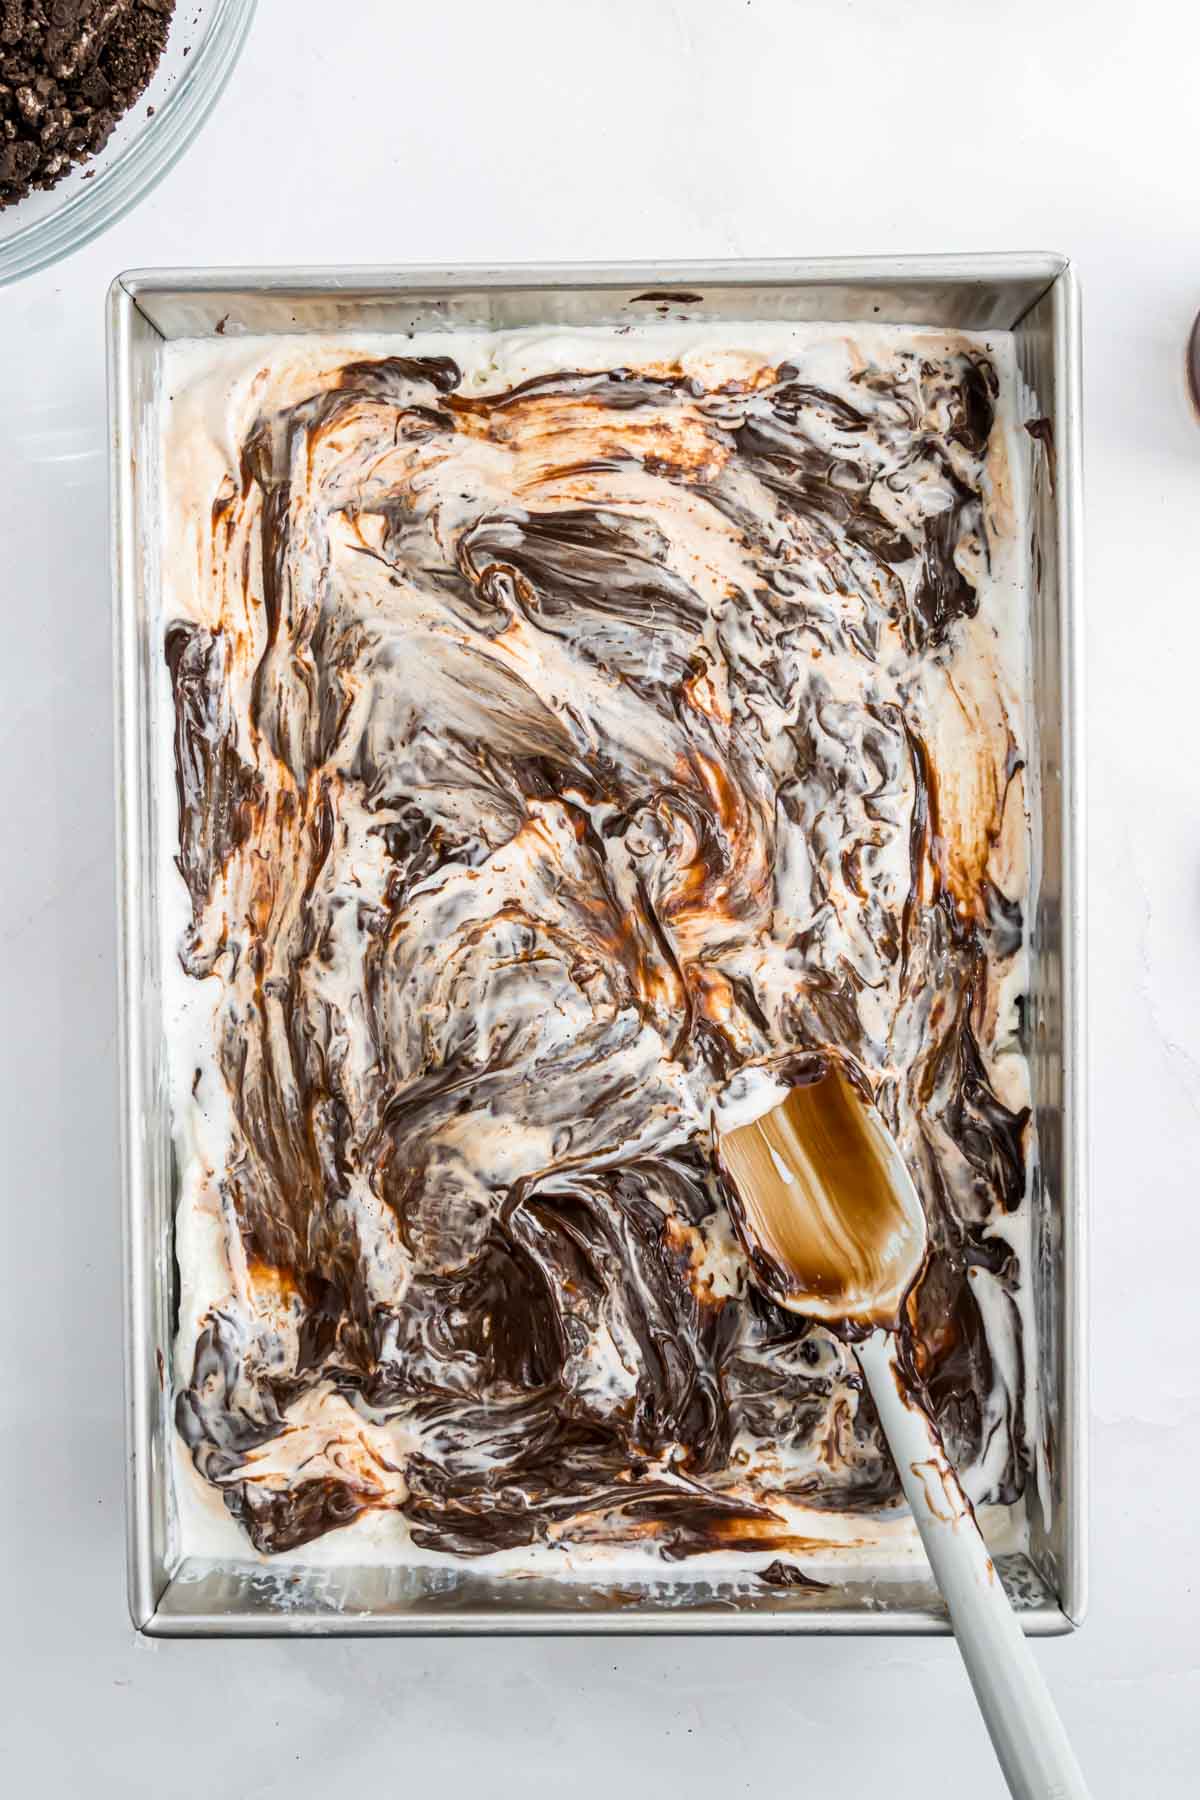
Step 3. Add the Fudge Layer. Using a large spoon, place dollops of the hot fudge sauce over the top of the ice cream layer and gently spread it out.
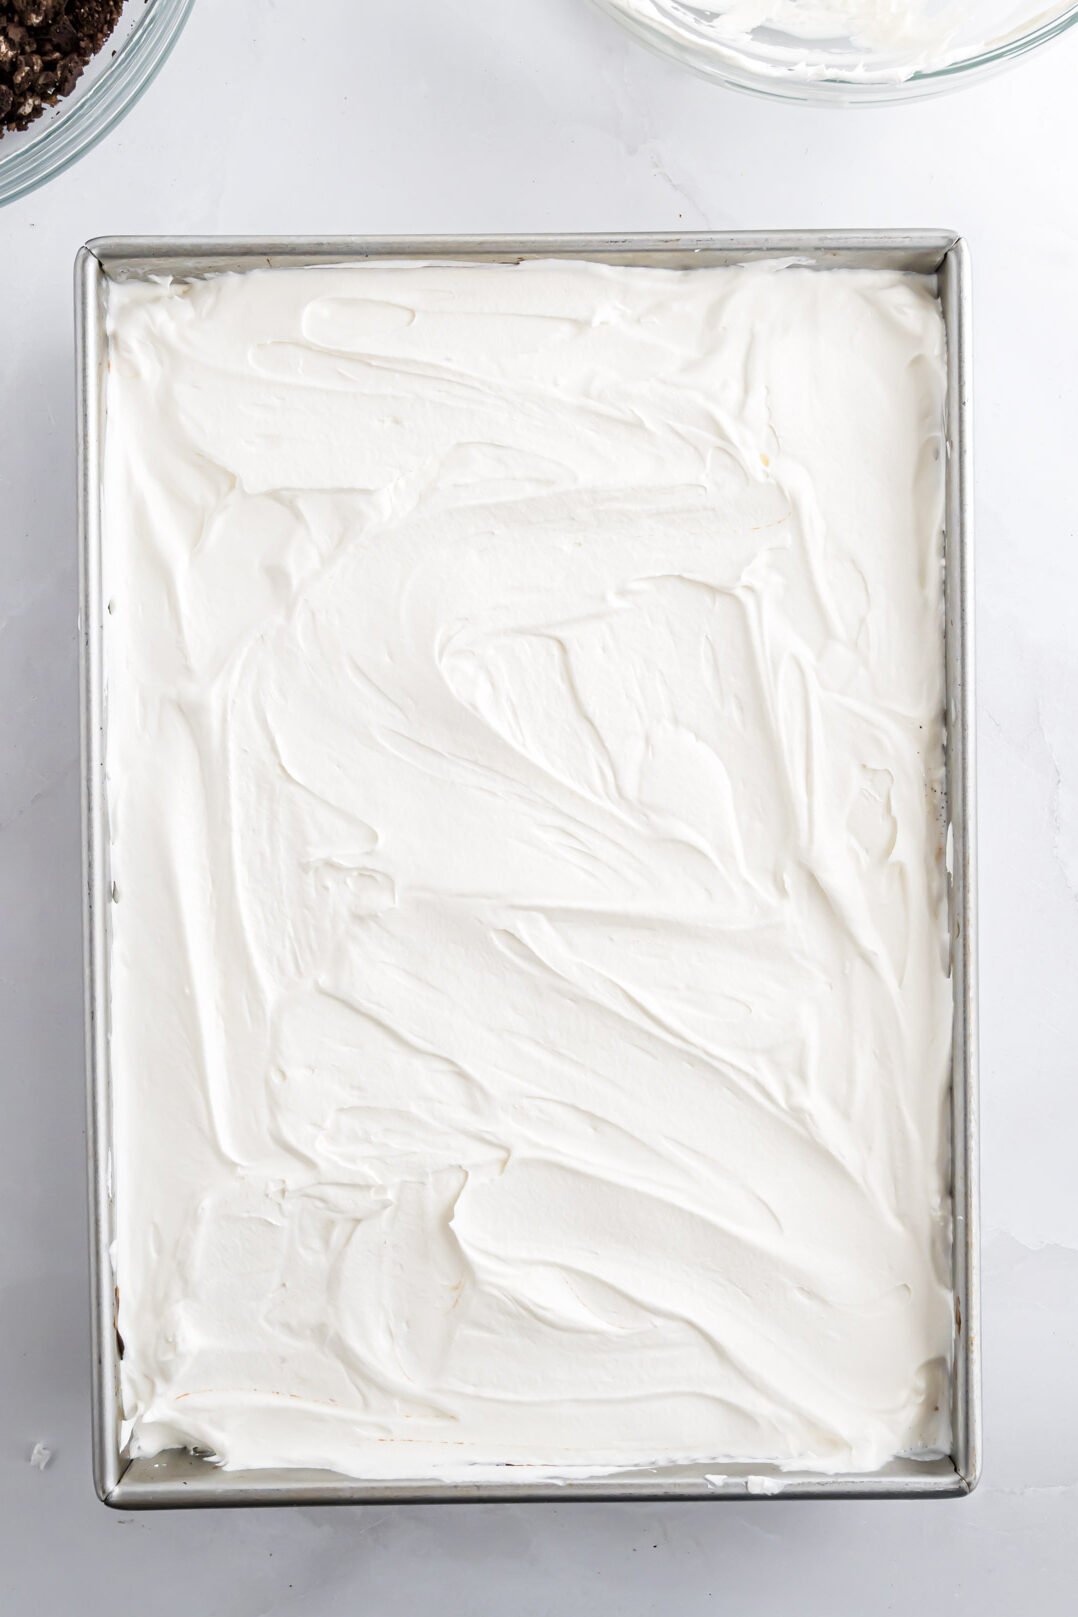
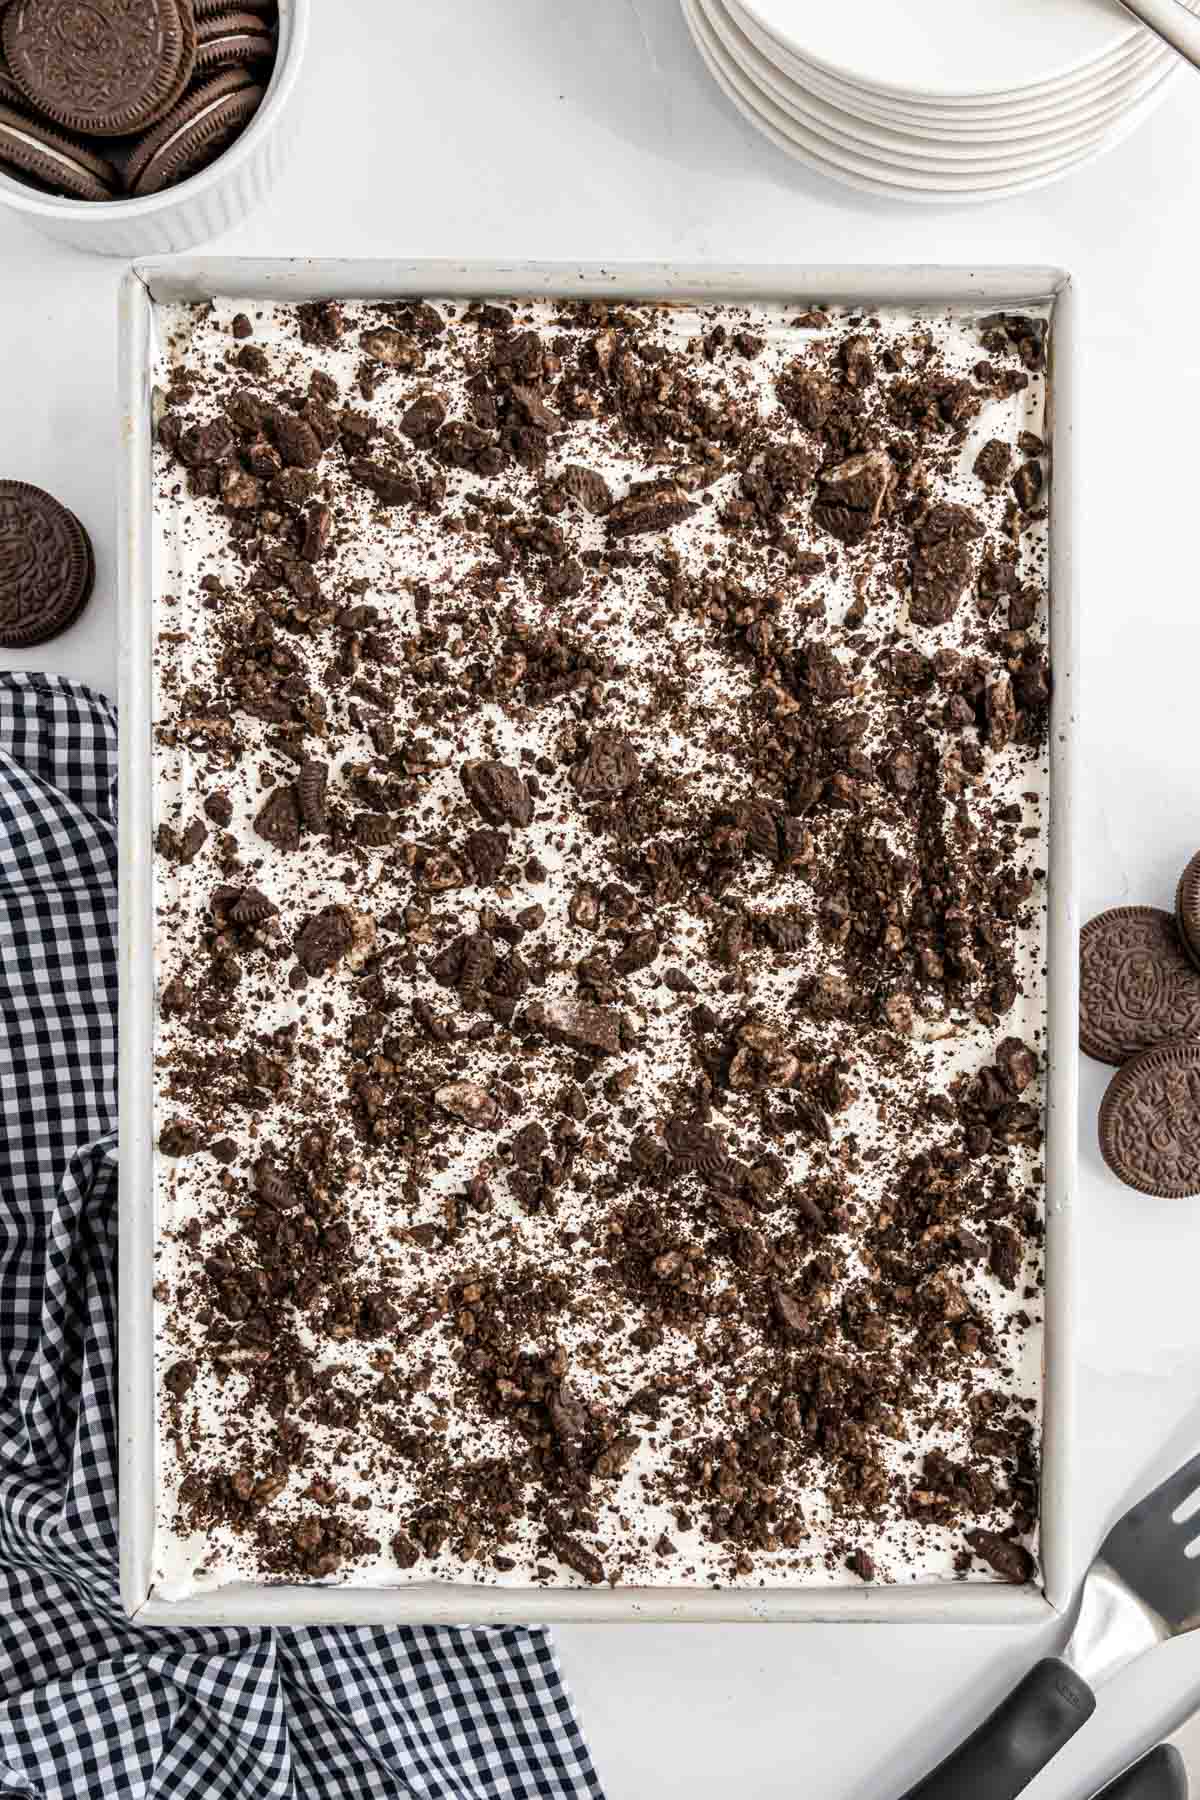
Step 4. Top with Cool Whip. Using an offset spatula, spread the entire container of Cool Whip over the fudge. Sprinkle the remaining crushed Oreos over the top.
Step 5. Freeze it. Place the dessert in the freezer for at least 4 hours or overnight.
Recipe Notes
- This frozen ice cream cake can be stored in an airtight container or covered and stored in the freezer for up to 7 days.
- The Oreo crust sticks together without the need for melted butter, unlike other versions.
- It’s great for summer birthdays, family reunions, or any special occasion where you need a quick but memorable dessert.
Oreo Ice Cream Cake
Ingredients
- 40 Oreo cookies, crushed reserve a few for topping
- 1.5 quarts vanilla ice cream slightly softened
- 1 11.75-ounce jar hot fudge topping (Smucker’s is my go-to)
- 1 16-ounce container Cool Whip, thawed
Instructions
- Place 10–15 Oreo cookies at a time in a plastic bag, then crush them using a rolling pin or mallet. Repeat until all cookies are crushed. Spread into an even layer to form the cookie crust at the bottom of your prepared pan. Save a few crushed Oreos for topping.
- Cut the softened ice cream into ½-inch slabs and lay them across the cookie crust. Press gently into an even layer. As the ice cream melts, you can smooth it into a more uniform layer with a rubber spatula. It doesn't have to be perfect. It will all get covered by fudge and Cool Whip, so nobody will see it.
- Using a large spoon, place dollops of the hot fudge sauce over the top of the ice cream layer and gently spread it out.
- Using an offset spatula, spread the entire container of Cool Whip over the fudge. Sprinkle the remaining crushed Oreos over the top.
- Place the dessert in the freezer for at least 4 hours or overnight.
Notes
-
- This frozen ice cream cake can be stored in an airtight container or covered and stored in the freezer for up to 7 days.
- Want to make this look more like a traditional cake? Use a round springform pan.
- No rolling pin? Use a mallet or anything heavy to crush the Oreo cookies inside a resealable plastic bag. Or, if you're lucky to have one, a food processor makes it even faster. Make sure not to process the cookies too much - 10 pulses is about all you'll need to do. The cookies need to stay somewhat chunky to form the bottom layer.
- Use a foil pan for quick clean-up and easy transport - perfect for picnics and birthday parties.
- Use a thick, hot fudge ice cream topping for the chocolate layer. I like Smucker's Hot Fudge. Don't use a syrup like Hershey's. It's too thin.
- This dessert freezes well - I always make it the night before and let it firm up overnight.
- Soften the ice cream slightly at room temperature (about 10 minutes) before layering. It makes spreading easier.


Charlotte says
This looks so delicious and even better, an ice cream cake that's easy to make!!! We love Oreos at our house! I can't wait to try it for our next family BBQ!