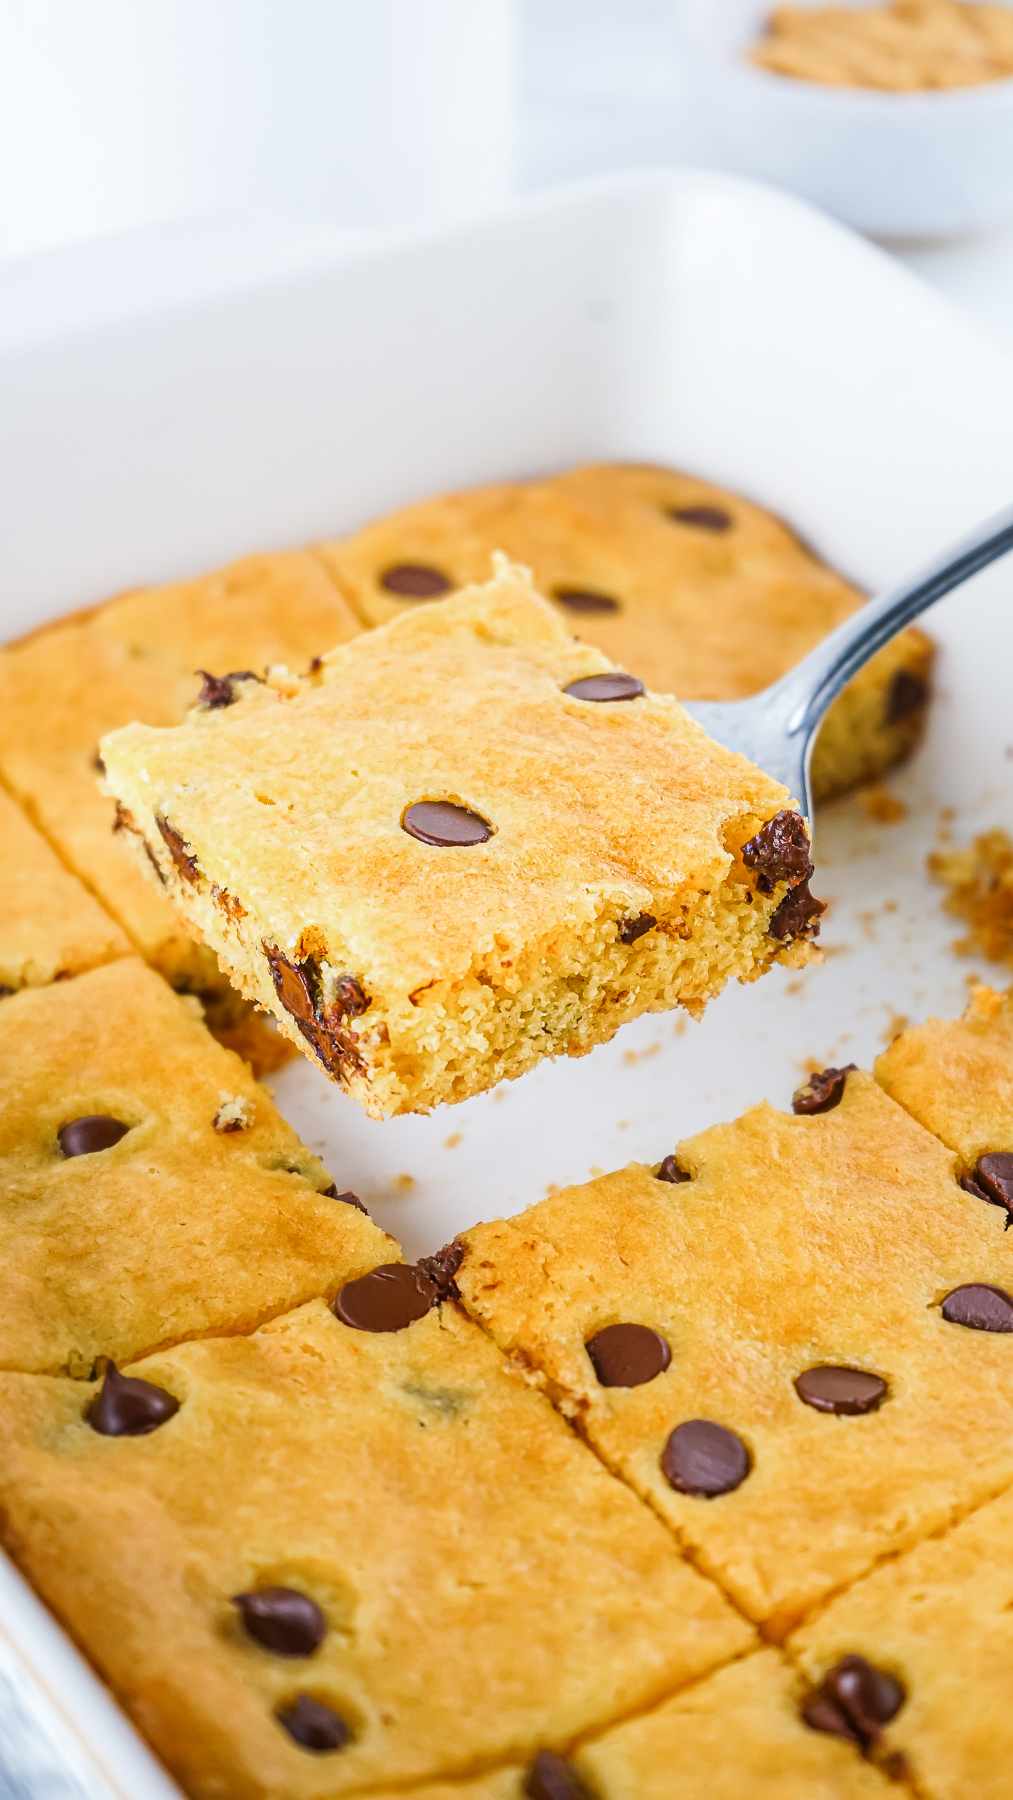
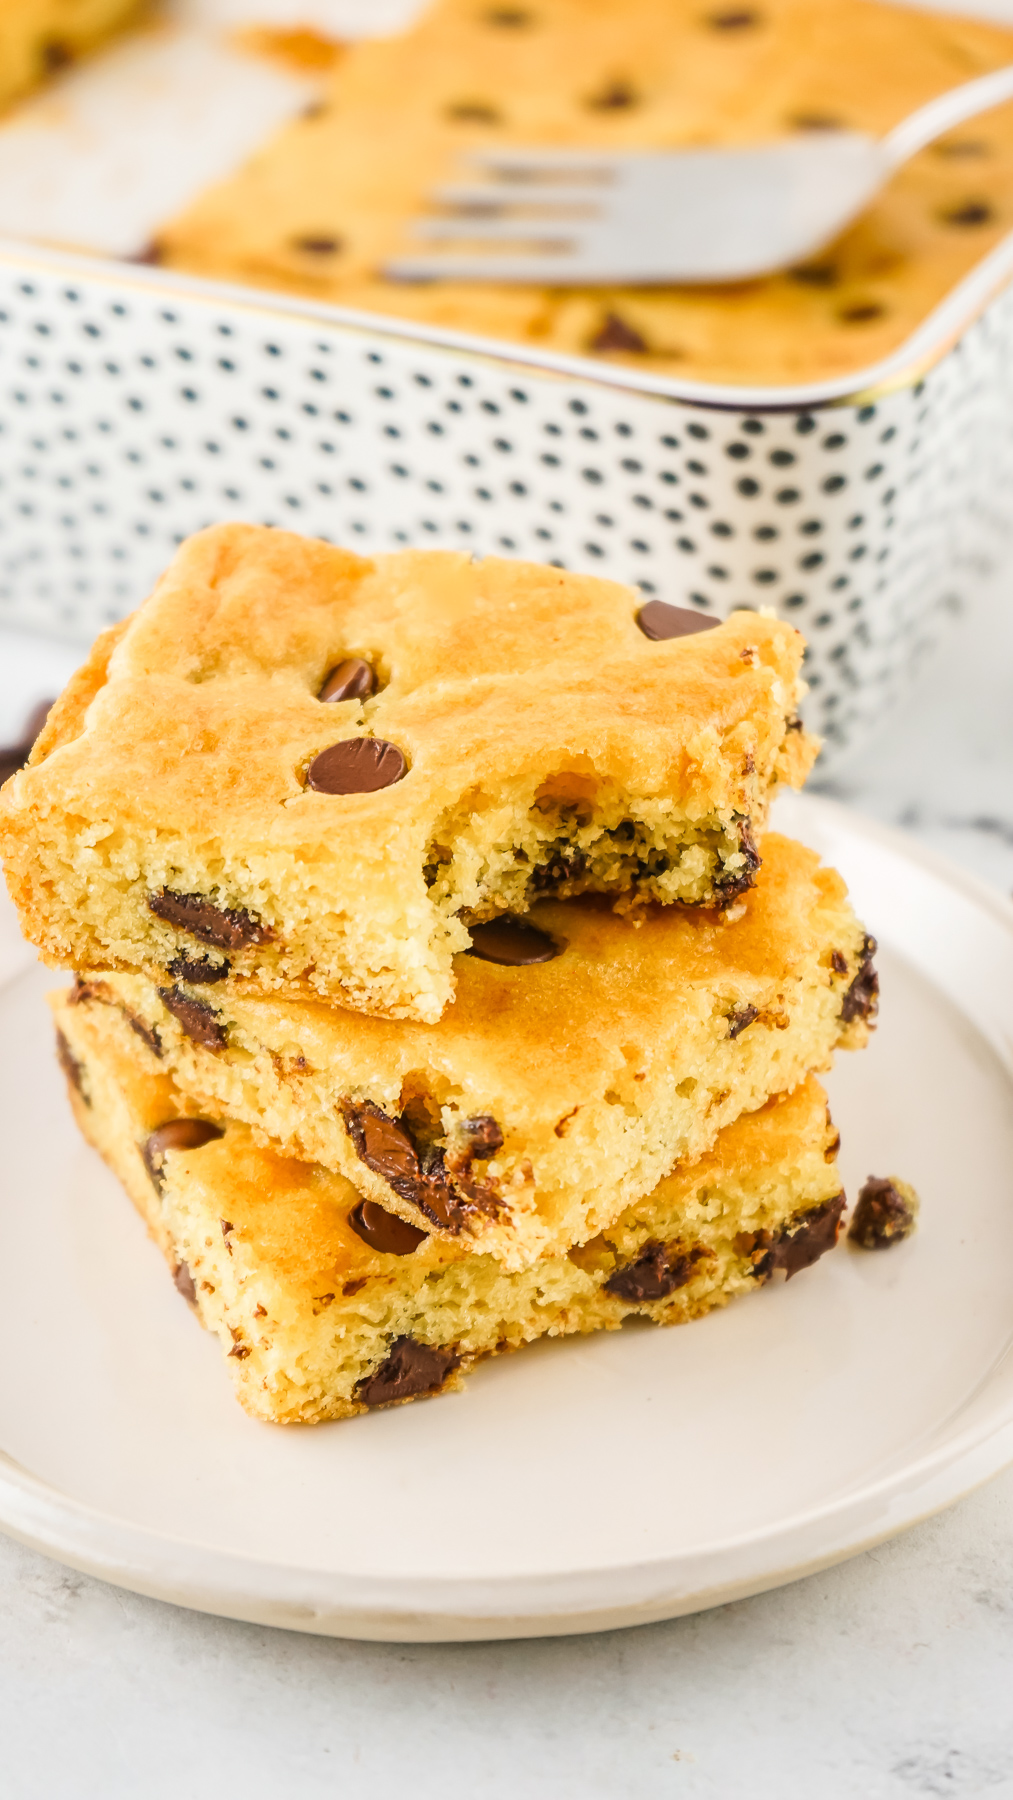
Craving a delightful homemade treat without the fuss? These Chocolate Chip Cookie Bars with Cake Mix are here to save the day! These are as sweet and simple as you can get!
With the perfect blend of convenience and decadence, this recipe is a game-changer for busy bakers and cookie enthusiasts alike. We have both in our household (a busy baker and cookie lovers), and we can all attest that these are fantastic!
These chocolate chip cookie bars require only five ingredients (if you count water as an ingredient), and they couldn't be easier. In fact, some people refer to them as "Lazy Chocolate Chip Cookie Bars."
I love a recipe that uses a smart hack to cut down on time or effort, like in my recipe for Banana Bread With Pancake Mix. As long as the results are fantastic, I don't think there's anything wrong with using shortcuts in the kitchen.

Bar cookies, like Hello Dolly Cookies, are some of my favorites to make.
Using a yellow cake mix as the base, these bars are a cinch to whip up. You're going to adore making and savoring these delightful bars.
Why You’ll Love This Recipe
- Effortless Preparation - With just a handful of readily available ingredients and a straightforward process, these cookie bars come together effortlessly. No need to measure out multiple flours or fuss with complicated techniques.
- Irresistible Flavor - The combination of a golden cake mix and abundant chocolate chips yields bars that strike a perfect balance between sweet and comforting. They're a guaranteed hit with kids and adults alike.
- Versatile and Customizable - Don't be afraid to get creative! You can switch up the type of cake mix or add in extras like nuts or coconut for a unique twist. These bars are your canvas to play with!
Choosing the Right Pan For Baking Your Cookie Bars
The kind of pan you choose can affect how your cookie bars bake.
- Heat Conduction - Glass and metal pans transfer heat from the oven to the batter, leading to faster and more even baking. Ceramic baking dishes tend to distribute heat more slowly and unevenly, which can result in longer baking times.
- Heat Retention - Glass and metal pans don't hold the heat like ceramic dishes do. Once removed from the oven, they cool down more rapidly, which can help prevent overcooking or drying out of the bars. Ceramic pans retain heat for a longer period, and the bars can continue to bake after being removed from the oven.
With these tips in mind, if you choose to bake these cookie bars in a glass or metal pan, they may not take as long as in the directions. I would recommend checking them for doneness about five minutes before the listed baking time or at about the 25-minute mark.

Equipment
- 9x13 Baking Pan
- Large Mixing Bowl
- Liquid Measuring Cup
- Dry Measuring Cup
- Rubber Spatula
- Nonstick Cooking Spray
- Hand Mixer
Ingredients
- Boxed Yellow Cake Mix
- Large Eggs
- Vegetable Oil
- Water
- Chocolate Chips
*Please scroll down to the printable recipe card for specific ingredient amounts.

Substitutions
- Cake Mix Variations - Feel free to experiment with different cake mixes like chocolate, vanilla, or even a funfetti mix for a playful twist.
- Oil Options - Use a different neutral oil, like Canola oil or melted butter, as an alternative to vegetable oil.
- Chocolate Chips - Swap out traditional milk chocolate chips for white chocolate, butterscotch, semi-sweet, or my favorite, dark chocolate.
Variations
- Nutty Delights - Add a crunch with chopped walnuts, pecans, or almonds. They bring a delightful contrast in texture.
- Fruity Bliss - Fold in dried fruits like cranberries or raisins for a sweet and tangy surprise in every bite.
- Celebrate! - Decorate these cookie bars with frosting and sprinkles for a variety of occasions.
Instructions
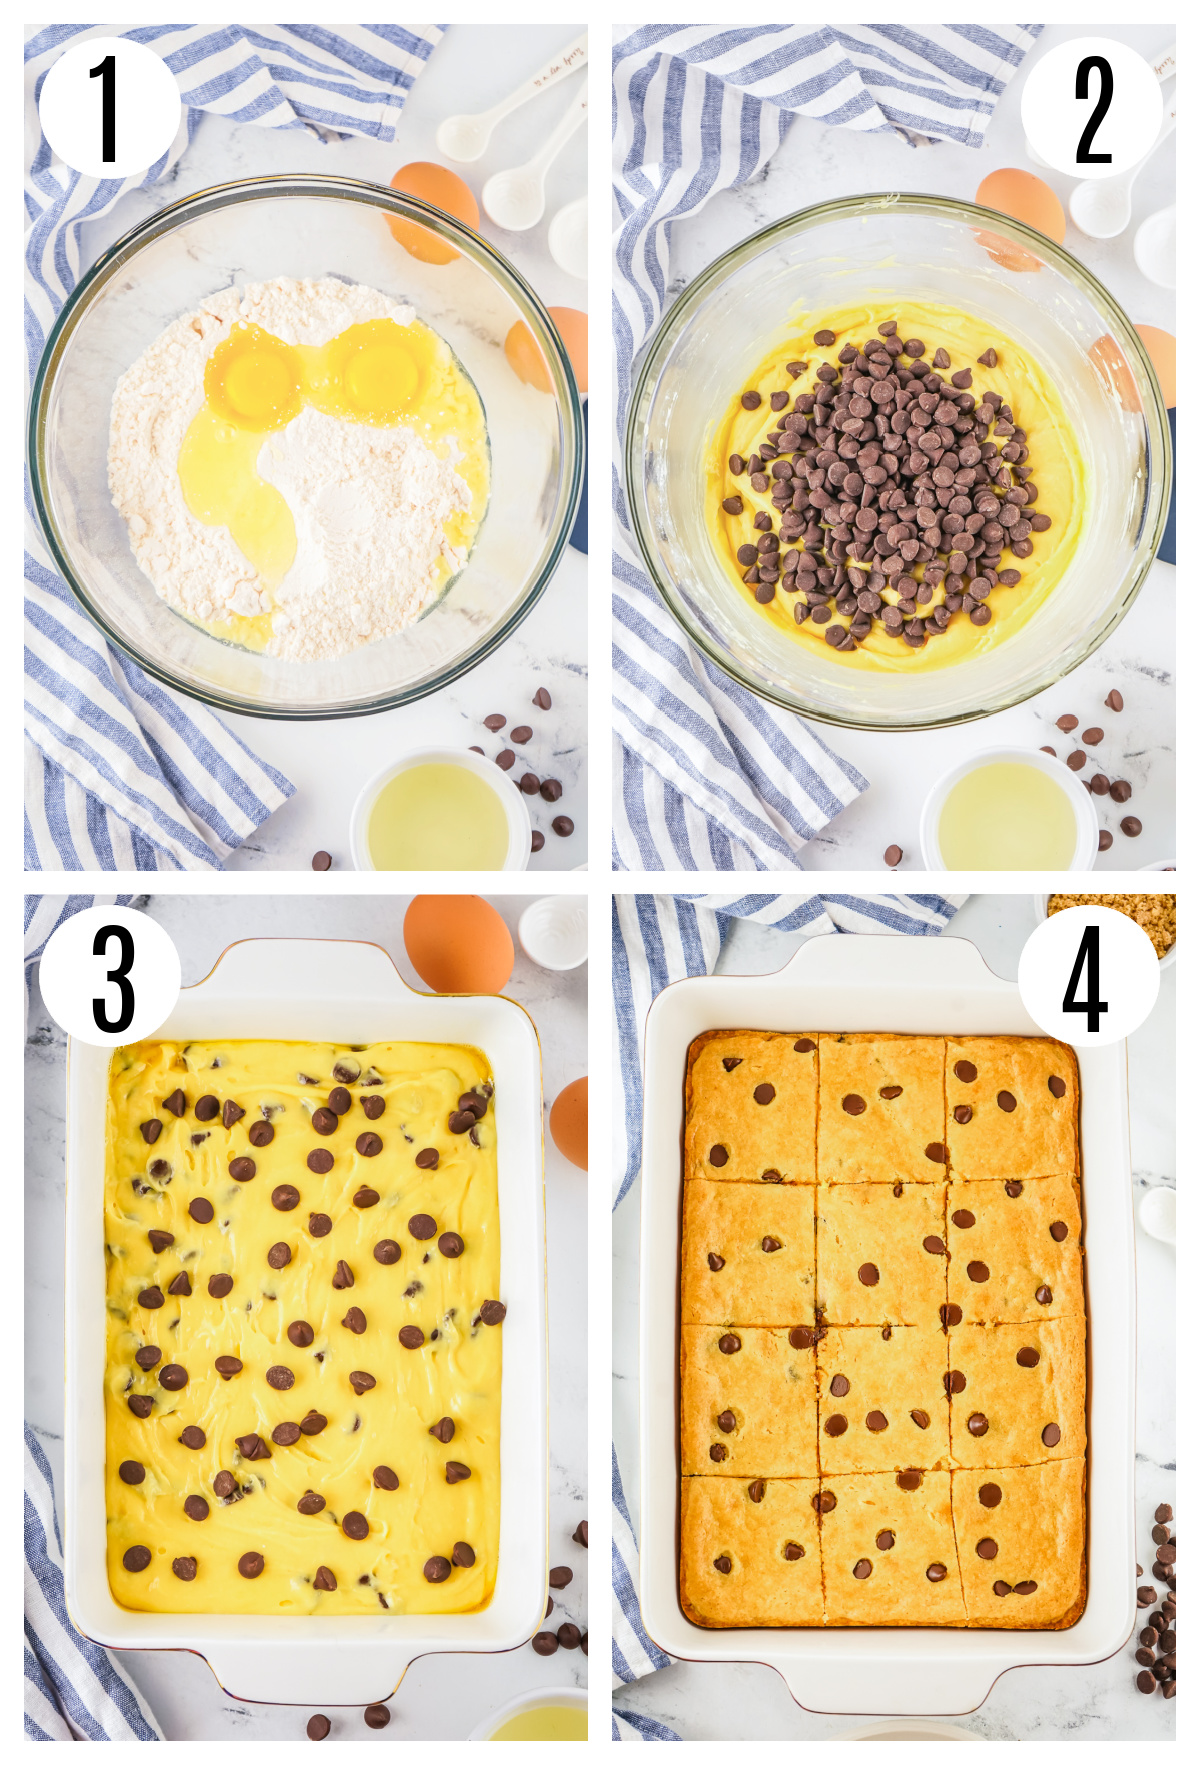
Step 1. Preheat the oven to 350℉. Spray a 9" x 13" baking pan with nonstick cooking spray and set aside.
Step 2. In a large mixing bowl, using an electric mixer, combine the cake mix, eggs, oil, and water until no lumps appear.
Step 3. Fold in the ¾ cup chocolate chips with a rubber spatula.
Step 4. Pour the batter into the prepared pan and spread into an even layer.
Step 5. Sprinkle a few chocolate chips over the top and bake for 24 minutes or until the bars are golden brown. Don't overbake these bars. When a toothpick inserted in the center comes back just barely gooey, pull the pan from the oven.

Step 6. Let the bars cool for about 30 minutes before slicing. The bars need that cooling time to set up and can fall apart easily if they're too warm.
Storage and Freezing
- Cover the bars with plastic wrap or transfer them to an airtight container at room temperature for up to three days.
- For freezing, individually wrap bars in plastic wrap and store them in a freezer-safe container or freezer bag for up to three months.
Pro Tip
The pan you pick for baking matters! This recipe was baked in a ceramic dish. If you choose to bake your bars in a metal or glass pan, they will bake faster. See the section above on how different pans affect this recipe.

FAQs
This has been a popular question with recipes lately. Many companies have started making cake mixes in a 13.25-ounce package instead of 15.25 ounces. This recipe works with both sizes.
Spray the pan with your favorite cooking spray to keep them from sticking. Alternatively, you can line the pan with parchment paper.
Although I haven't tested these variations, most major box cake makers provide gluten-free versions of their cake mixes.
You can. However, a pan of that size is approximately half the size of a 9" x 13". You will get some nice and thick cookie bars. Adjust the baking time to account for the thicker bars.
It's likely one of two things happened. It could be that there wasn't enough fat in the mix. I don't recommend using a low-fat spread or margarine in this recipe. Those products typically replace some of the fat with water. That just doesn't work in this recipe. The other reason could be that the bars were baked too long. When you insert a toothpick into the center of the bars, it should come out with moist crumbs clinging to it.
If you've just taken them out of the oven and you discover that they need to be baked a little longer, you can certainly put them back in the oven. However, if the bars have cooled and they're undercooked, they should not be eaten. Eating them could put you at risk for food poisoning.

Chocolate Chip Cookie Bars With Cake Mix
Equipment
- 9” x 13” Baking Pan
- Large Mixing Bowl
- Liquid Measuring Cup
- Dry Measuring Cup
- Rubber Spatula
- Nonstick cooking spray
- Electric Mixer
Ingredients
- 1 yellow cake mix 13.25 ounces
- 2 large eggs
- ½ cup vegetable oil
- ⅓ cup water
- ¾ cup chocolate chips plus more for topping
Instructions
- Preheat the oven to 350℉. Spray a 9" x13" baking pan with nonstick cooking spray and set aside.
- In a large mixing bowl, using an electric mixer, combine the cake mix, eggs, oil, and water until no lumps appear.
- Fold in the ¾ cup chocolate chips with a rubber spatula.
- Pour the batter into the prepared pan and spread evenly.
- Sprinkle a few chocolate chips over the top and bake for 24 minutes or until the bars are golden brown. Don't overbake these bars. When a toothpick inserted in the center comes back just barely gooey, pull the pan from the oven.
- Let the bars cool for about 30 minutes before slicing. The bars need that cooling time to set up and can fall apart easily if they're too warm.
Notes
- Cover the bars with plastic wrap or transfer them to an airtight container at room temperature for up to three days.
- For freezing, individually wrap bars in plastic wrap and store them in a freezer-safe container or freezer bag for up to three months.


Charlotte says
Made these with my boys and they couldn't be easier! They are definitely lazy cookie bars but delicious in flavor! Thanks for sharing this great recipe and easy tutorial!